
Benutzer-Werkzeuge
Seitenleiste
Dies ist eine alte Version des Dokuments!
Inhaltsverzeichnis
Anleitung für den Laser Cutter
Um den Lasercutter benutzen zu können, sollten Sie zunächst die Sicherheits- und Anleitungseinweisung erhalten. Dieser Laserschneider wird mit Computer Nummer 1 betrieben, auf dem CorelDraw installiert ist. Den Benutzernamen und das Passwort erhalten Sie von den Mitarbeitern.
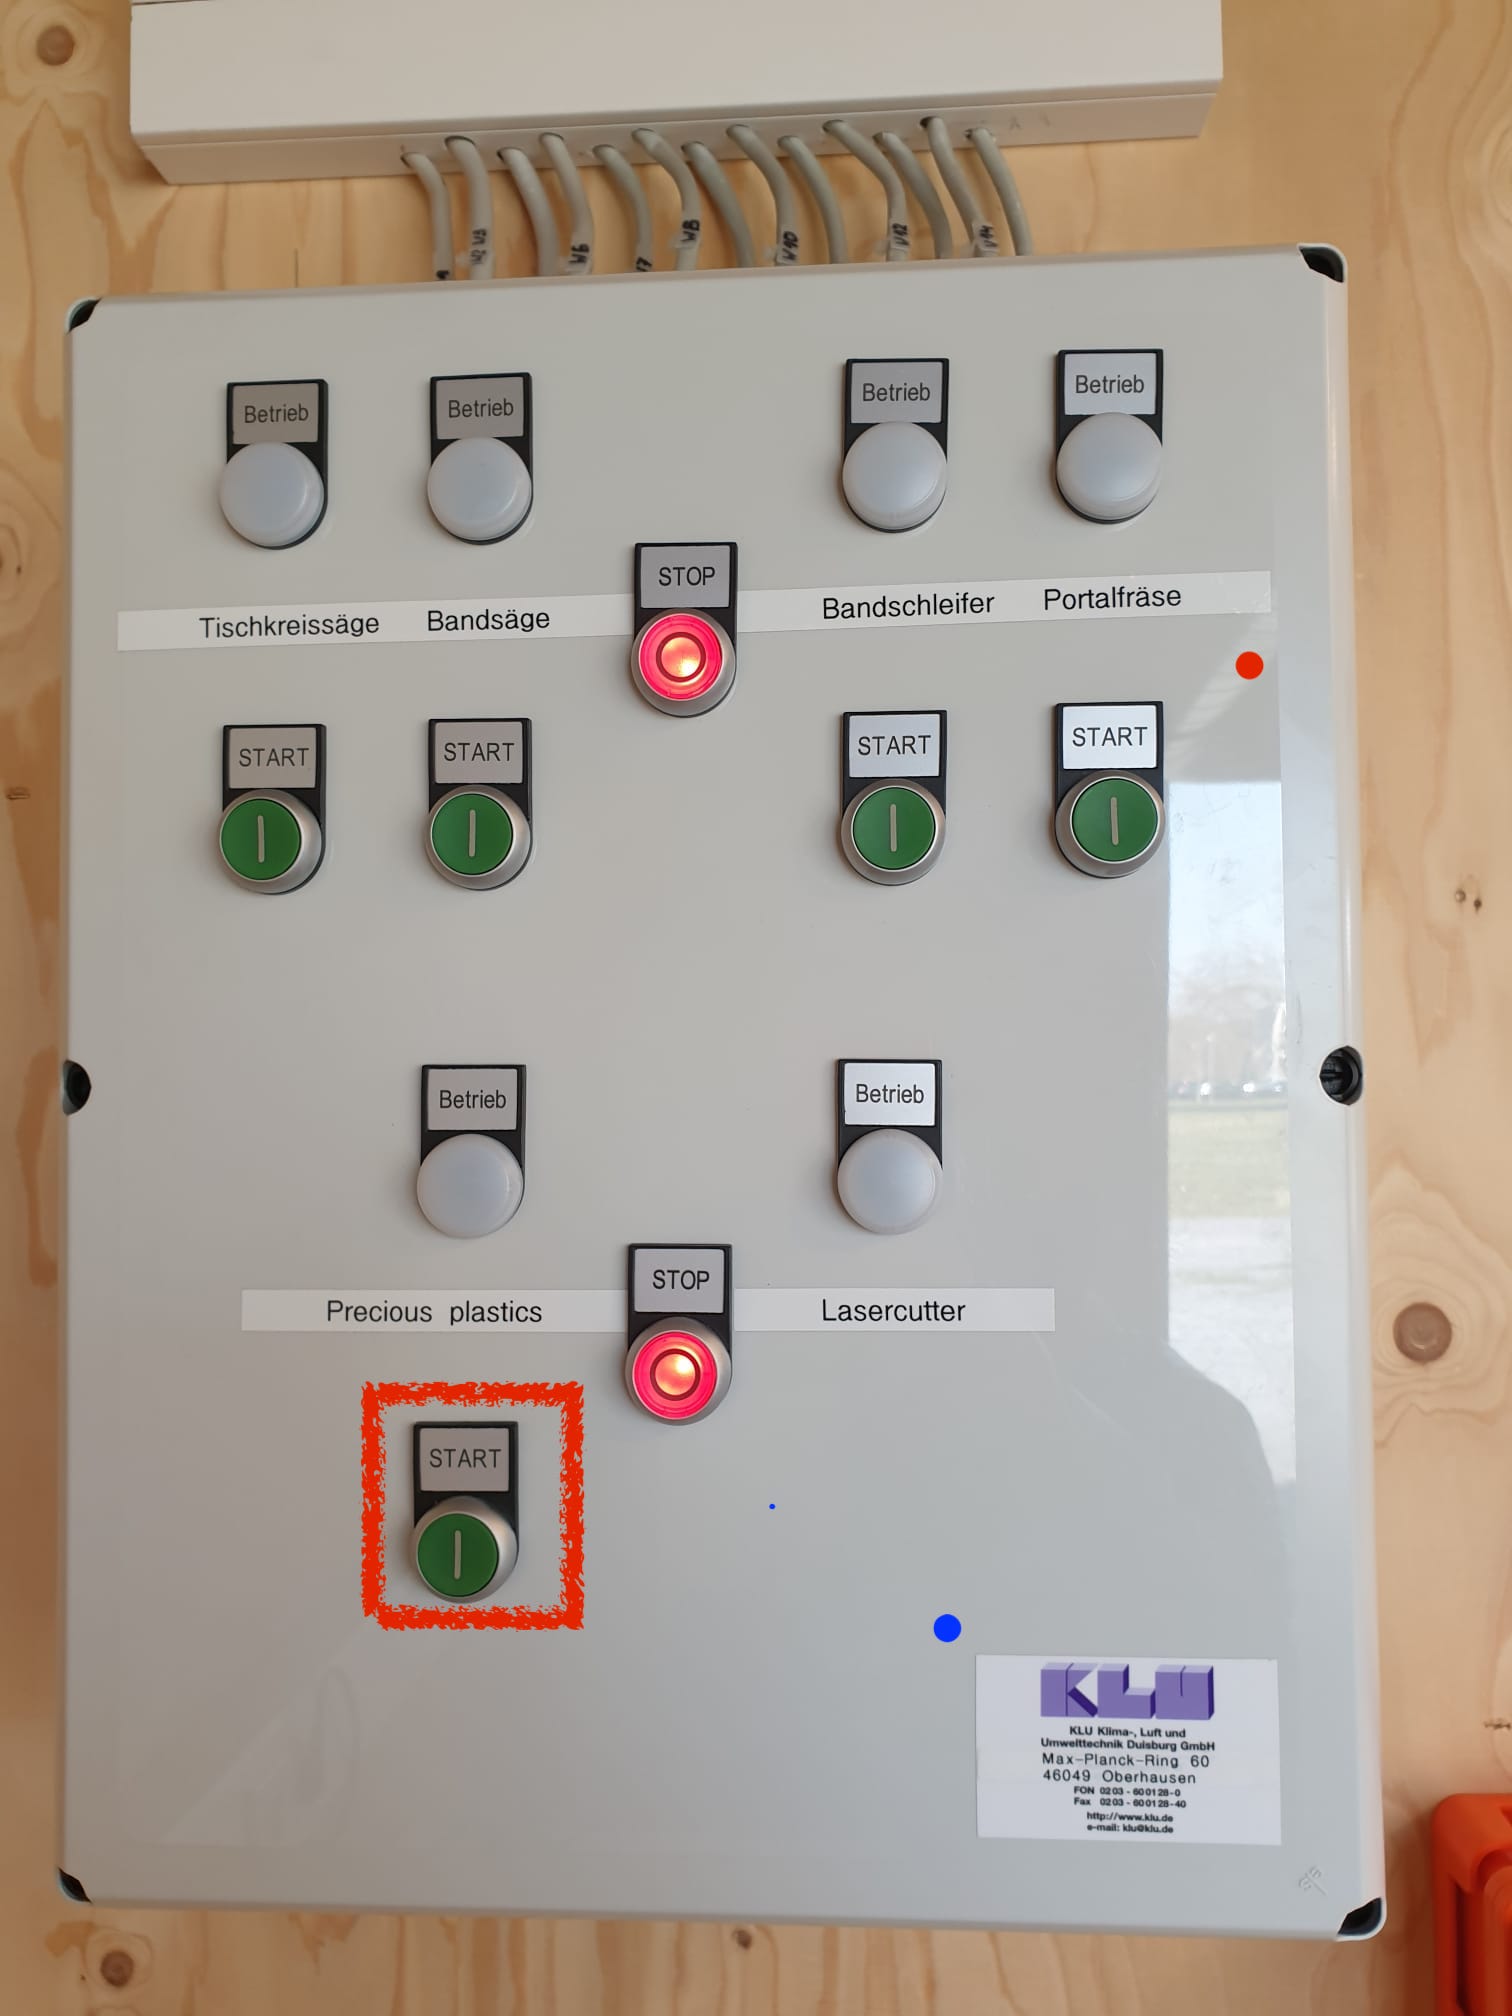
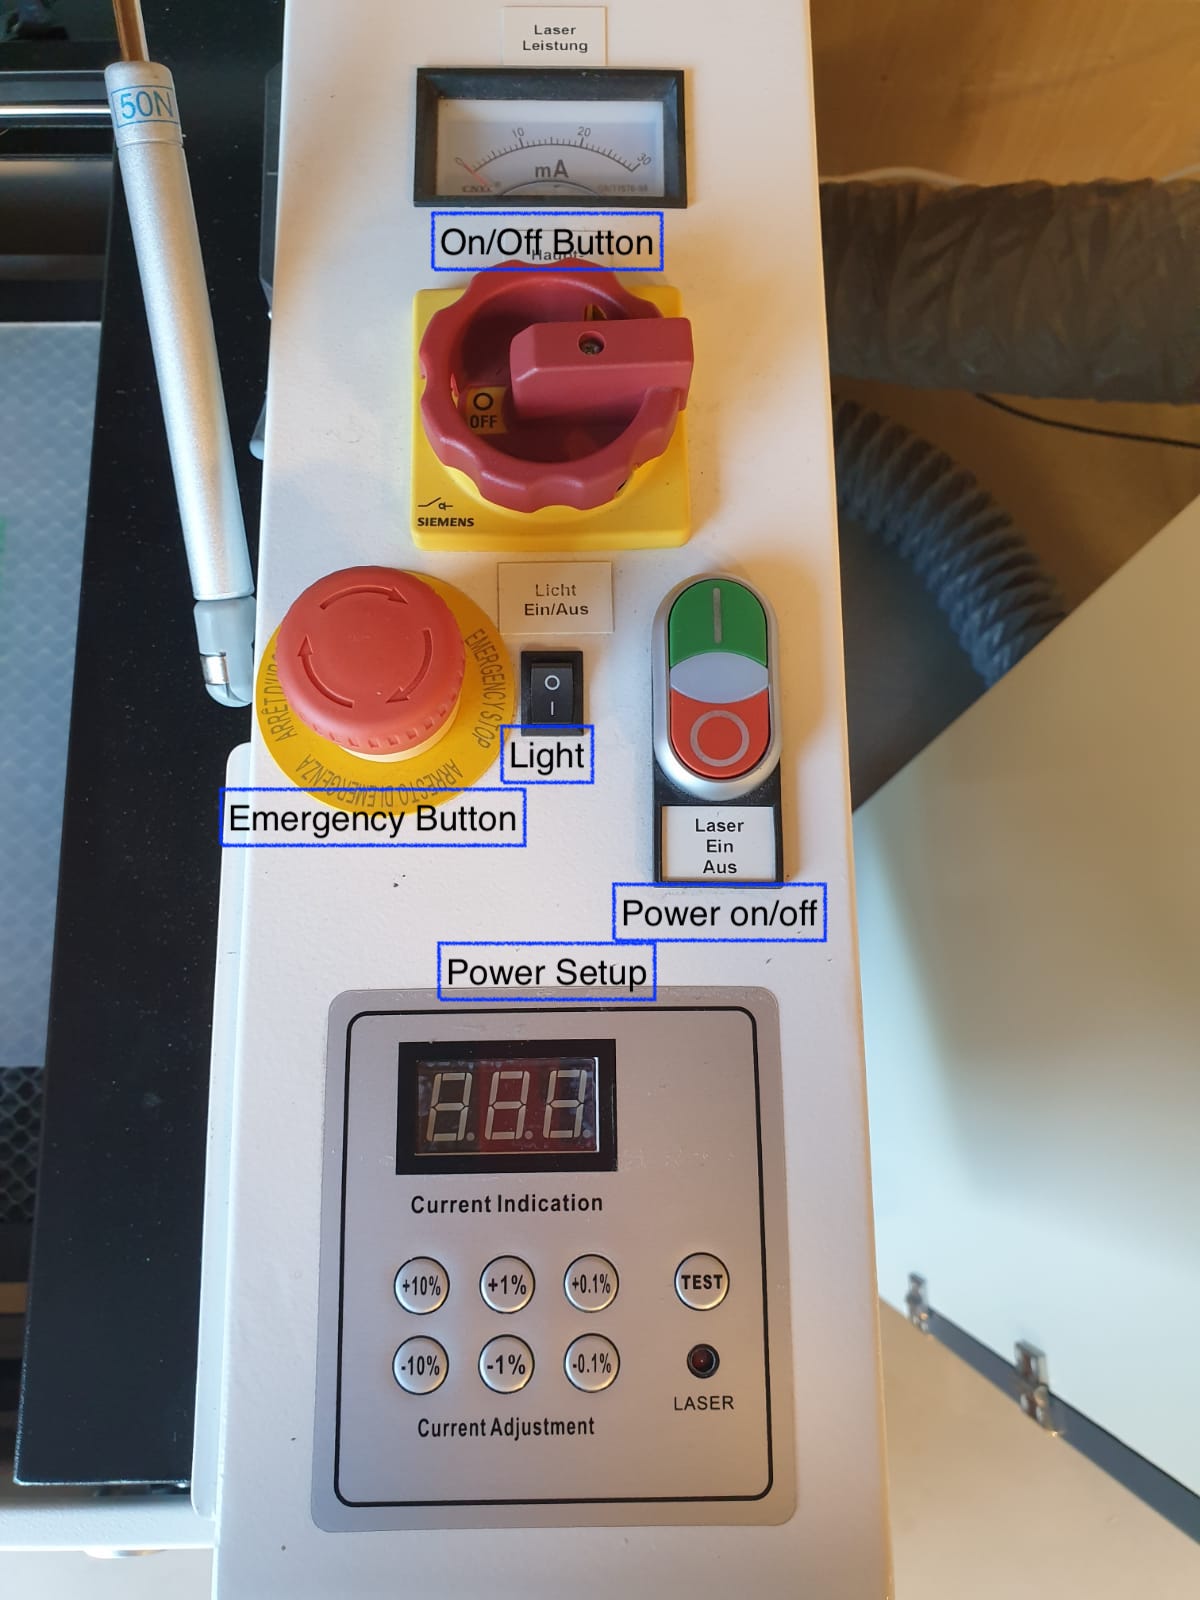
Bevor Sie den Lasercutter in Betrieb nehmen, müssen Sie ihn zunächst über das Bedienfeld aktivieren, indem Sie die Taste unten links drücken. Das Bedienfeld befindet sich an der rechten Wand parallel zum Laserschneider.
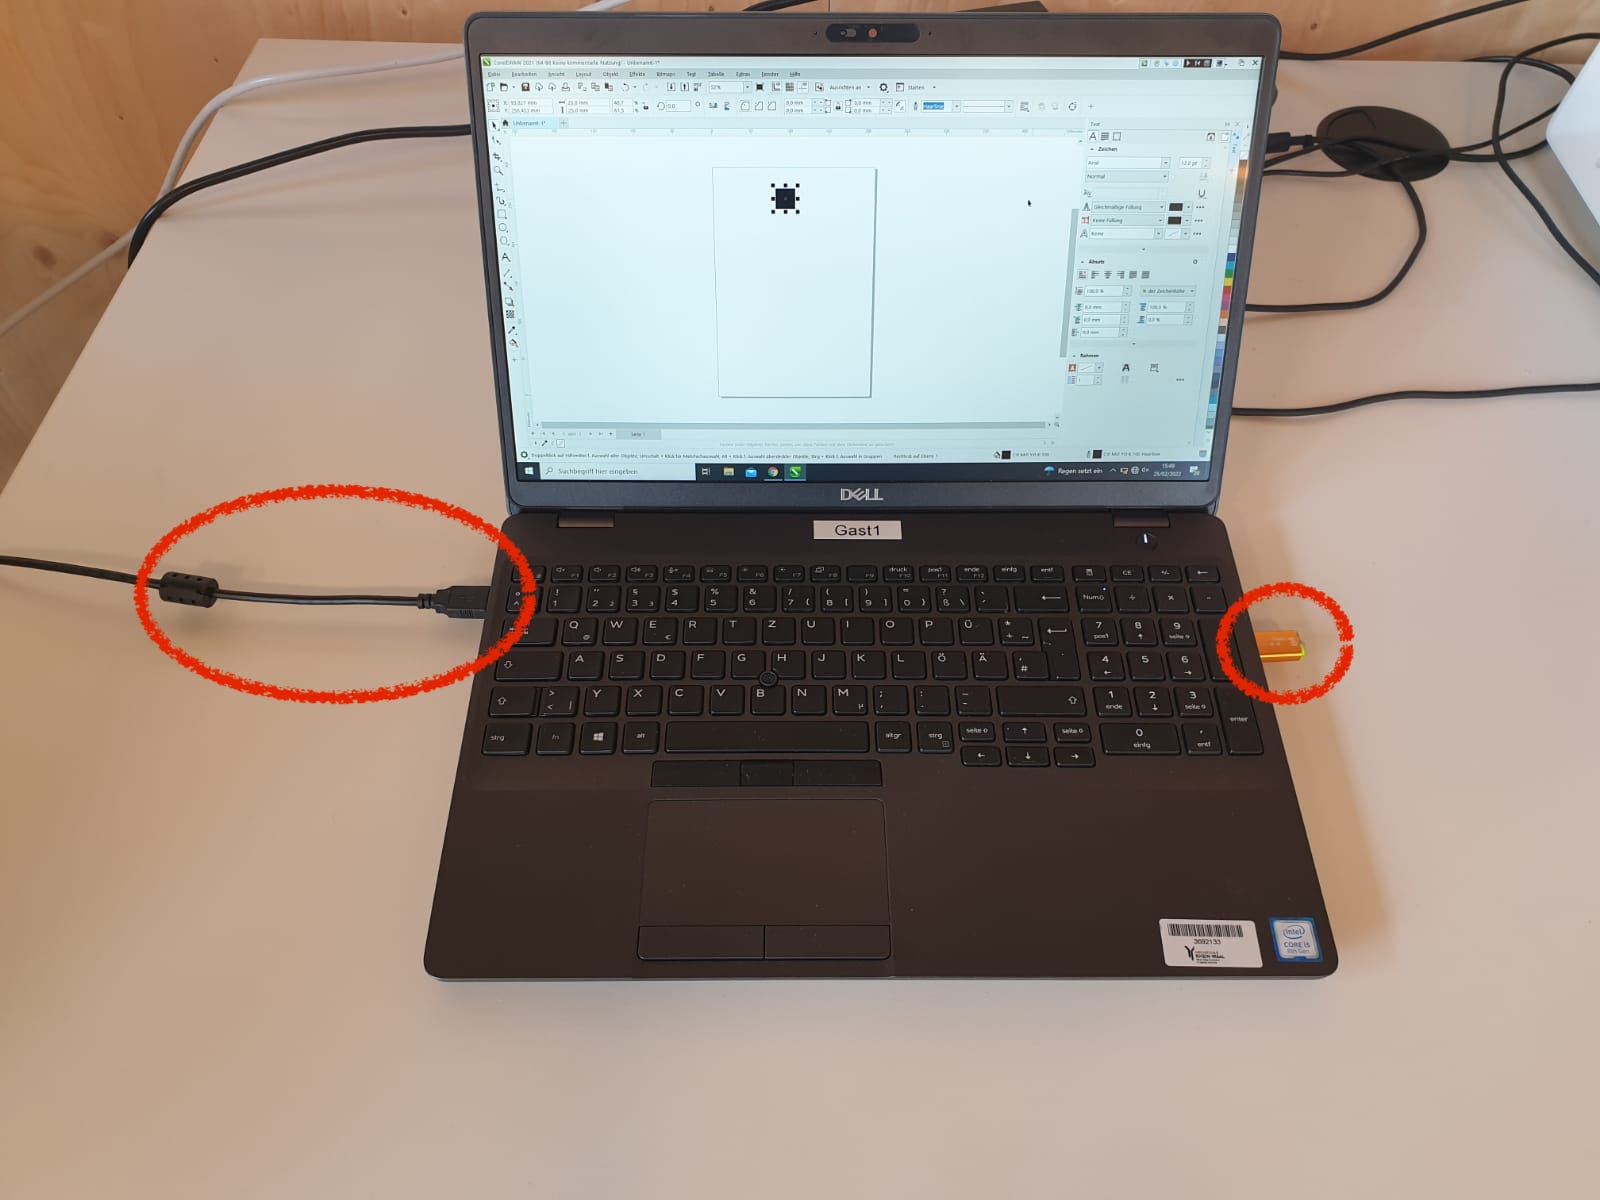
Danach muss ein spezieller USB-Stick an den Laptop angeschlossen werden (da ohne diesen ein Fehler beim Senden von Ausdrucken an den Lasercutter auftritt) und das Kabel des Lasercutters.
As these are set, it is time we either insert a file (dxf, dwg files recommended) to CorelDraw or create our file directly in the software. Either way, we prepare our file for cutting/engraving depending on the design, opening the following software:
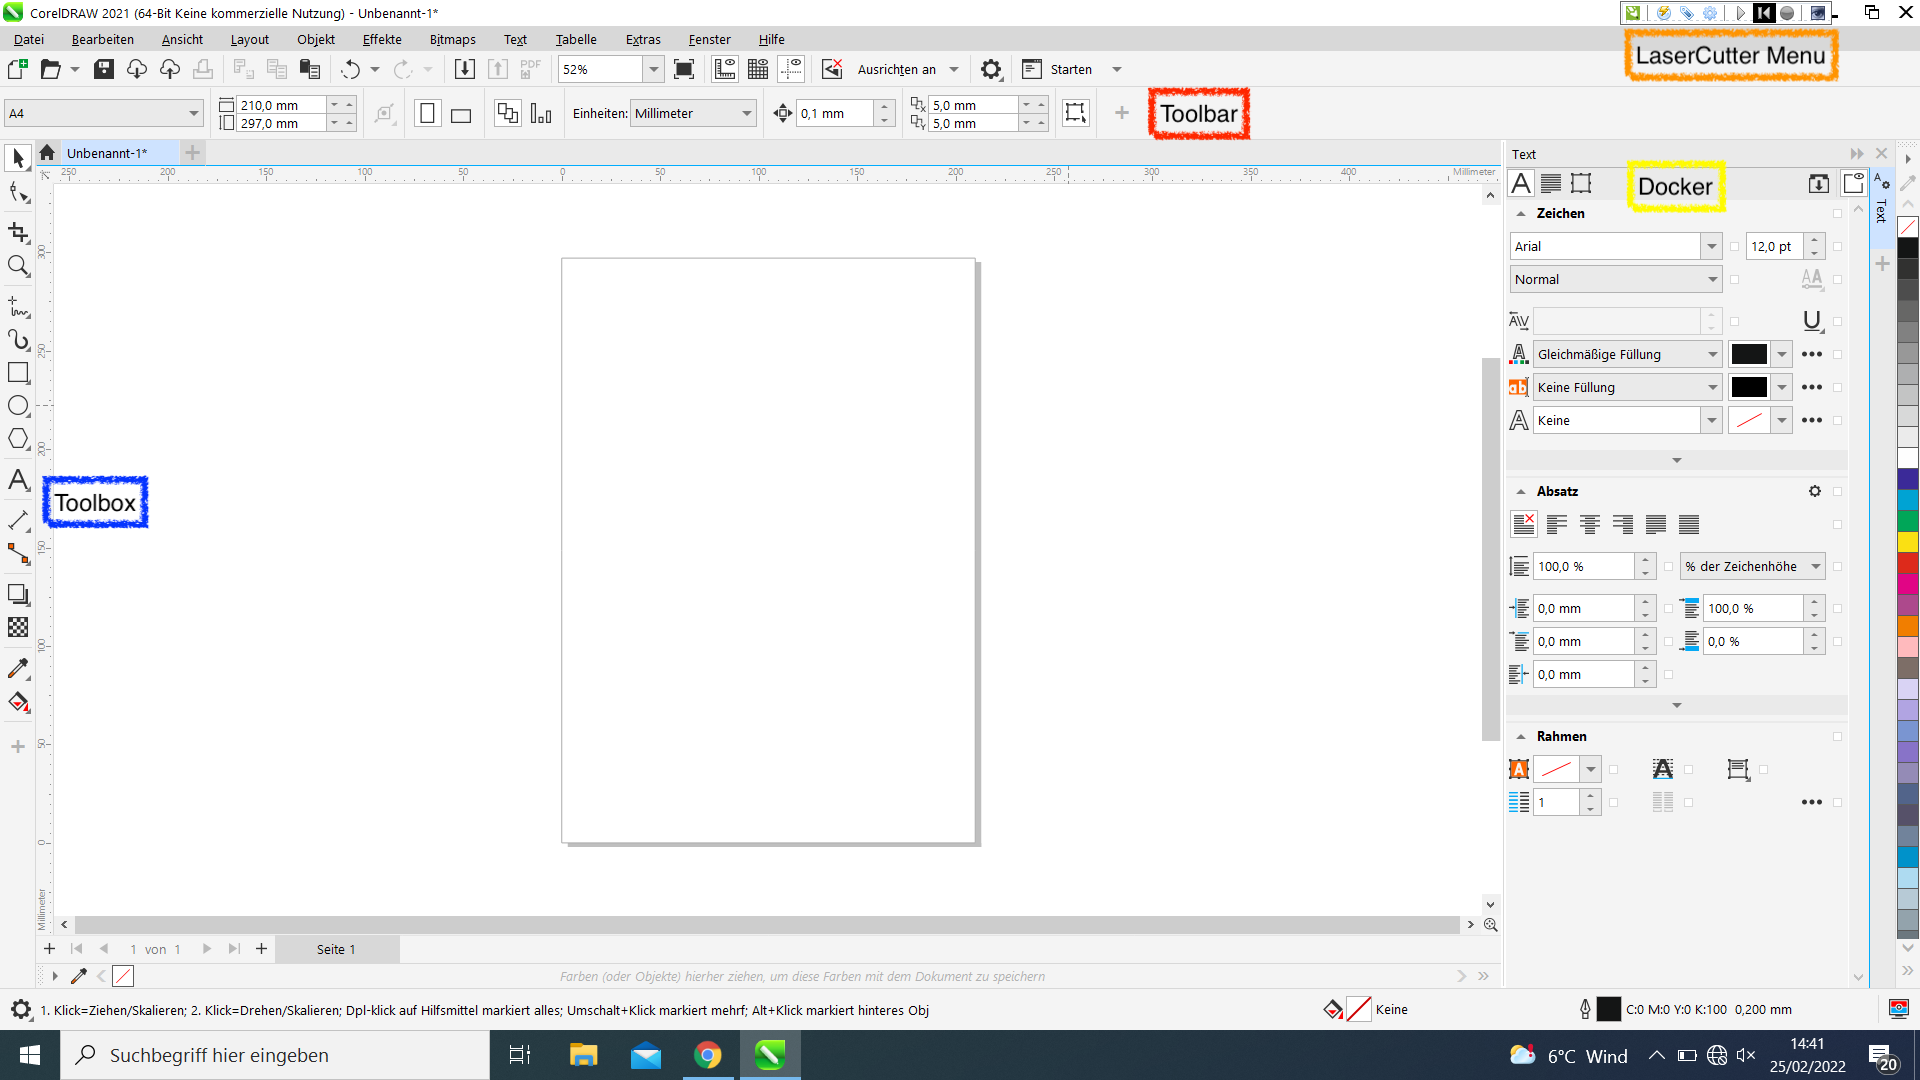
For the sake of the testing of different materials, a small rectangle cut and engraving were done. So, below are the examples that will be provided. What we will mainly be working with when using Coreldraw are: the toolbox(blue), which provides tools for creating and modifying objects in the drawing, the toolbar(red), which contains shortcuts to menu and other commands, the docker(yellow), which is used in case our drawing is complicated and needs layering and finally the laser cutter menu for setting the parameters of the cut/engraving and send the job to the laser cutter. For a complete guide to Coreldraw, this link is very helpful: Corel Draw Guide
Cutting
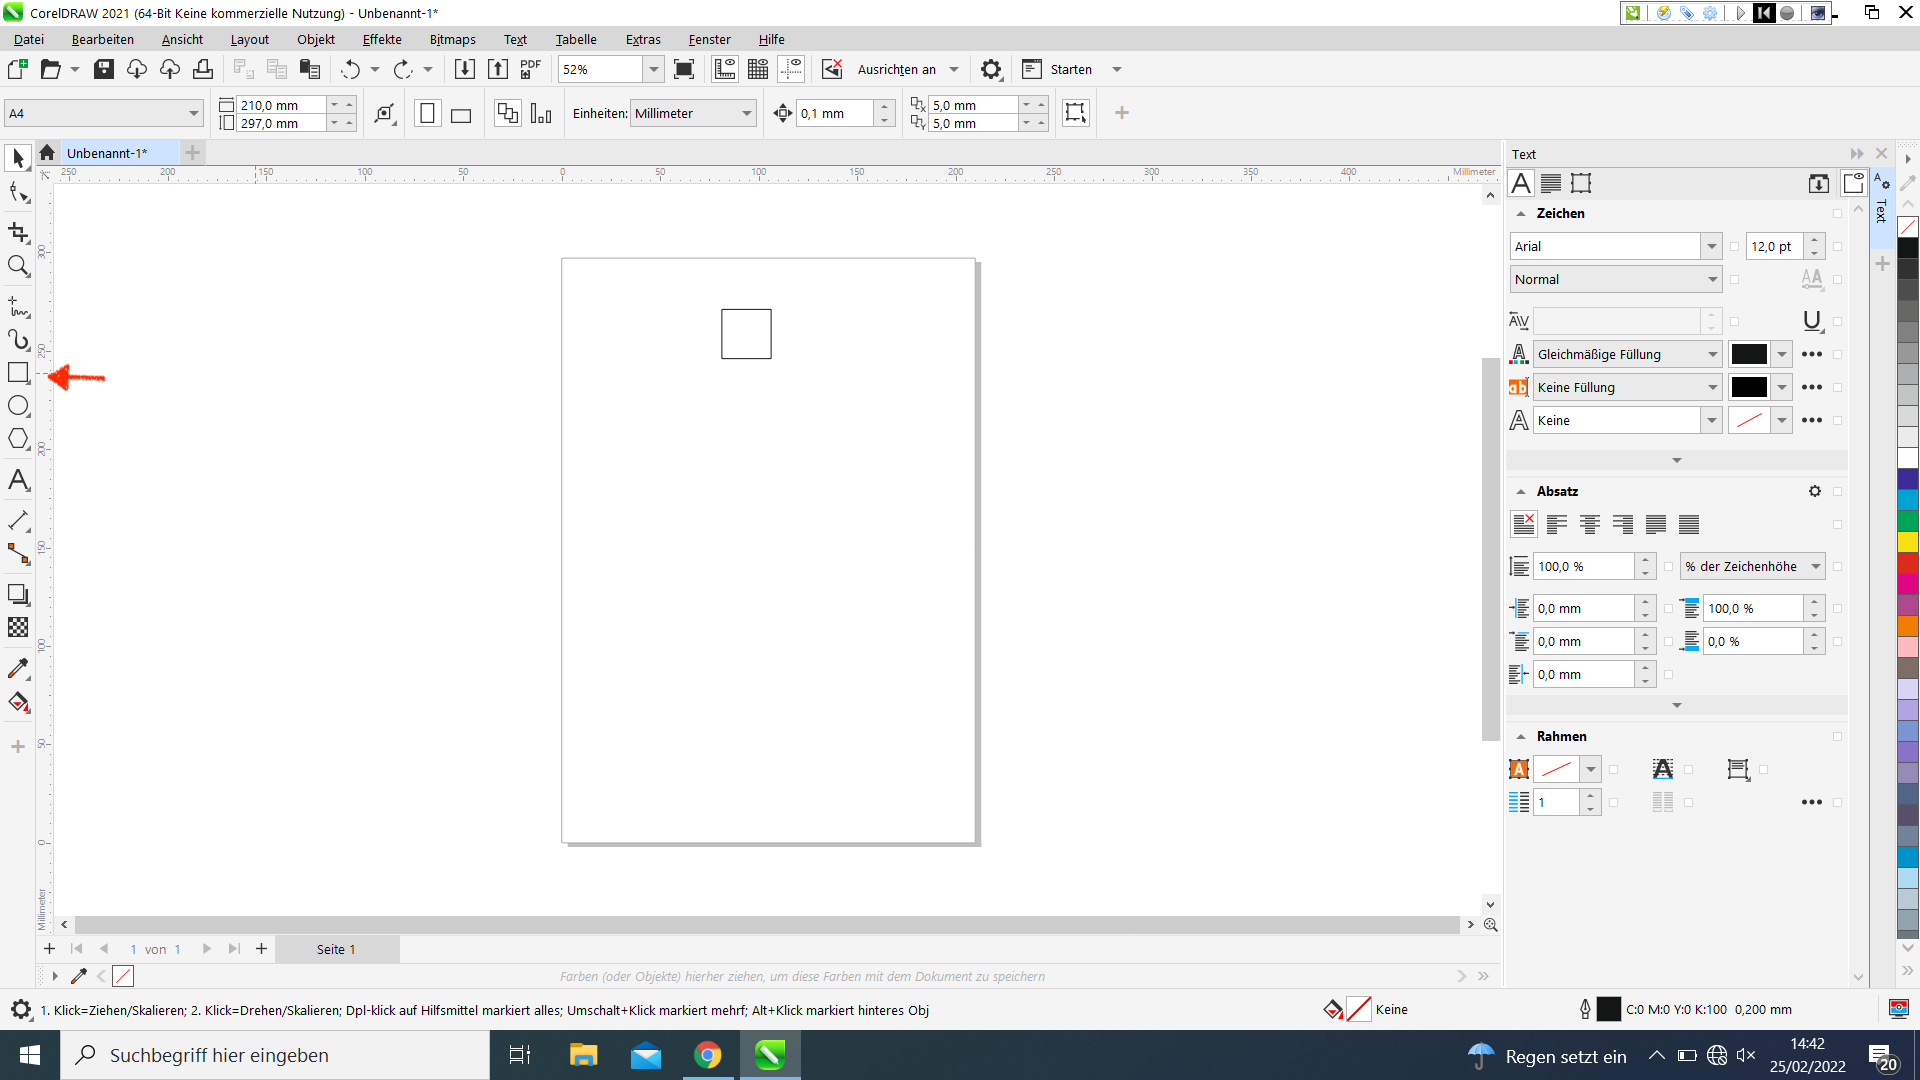
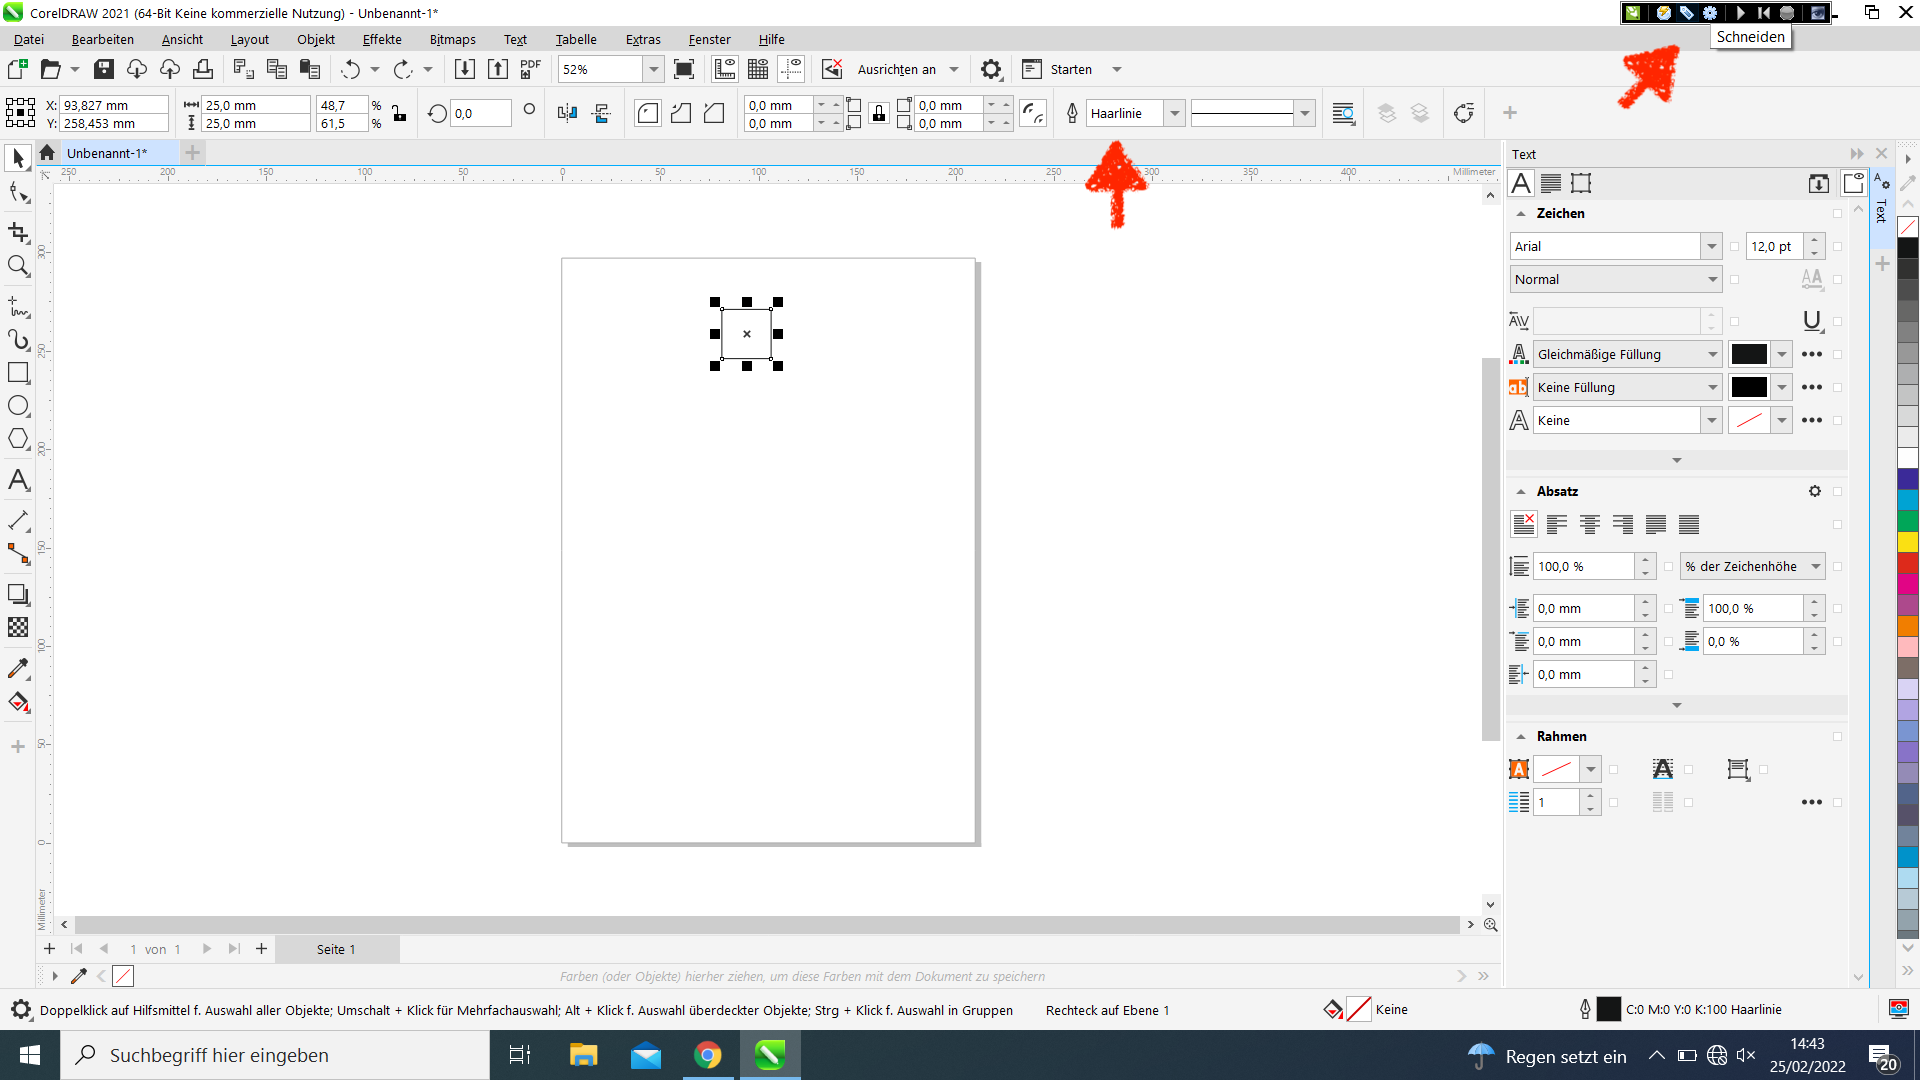
Using the rectangle tool in the toolbox, a small rectangle was created. After it was created, it was made sure that the thickness of the rectangle lines were set to hairline, as the laser cutter will otherwise engrave instead of cutting. After that, after selecting the rectangle to be cut, the cut button was pressed on the laser cutter menu. Always select what you want to cut, before pressing the cut button.
Engraving
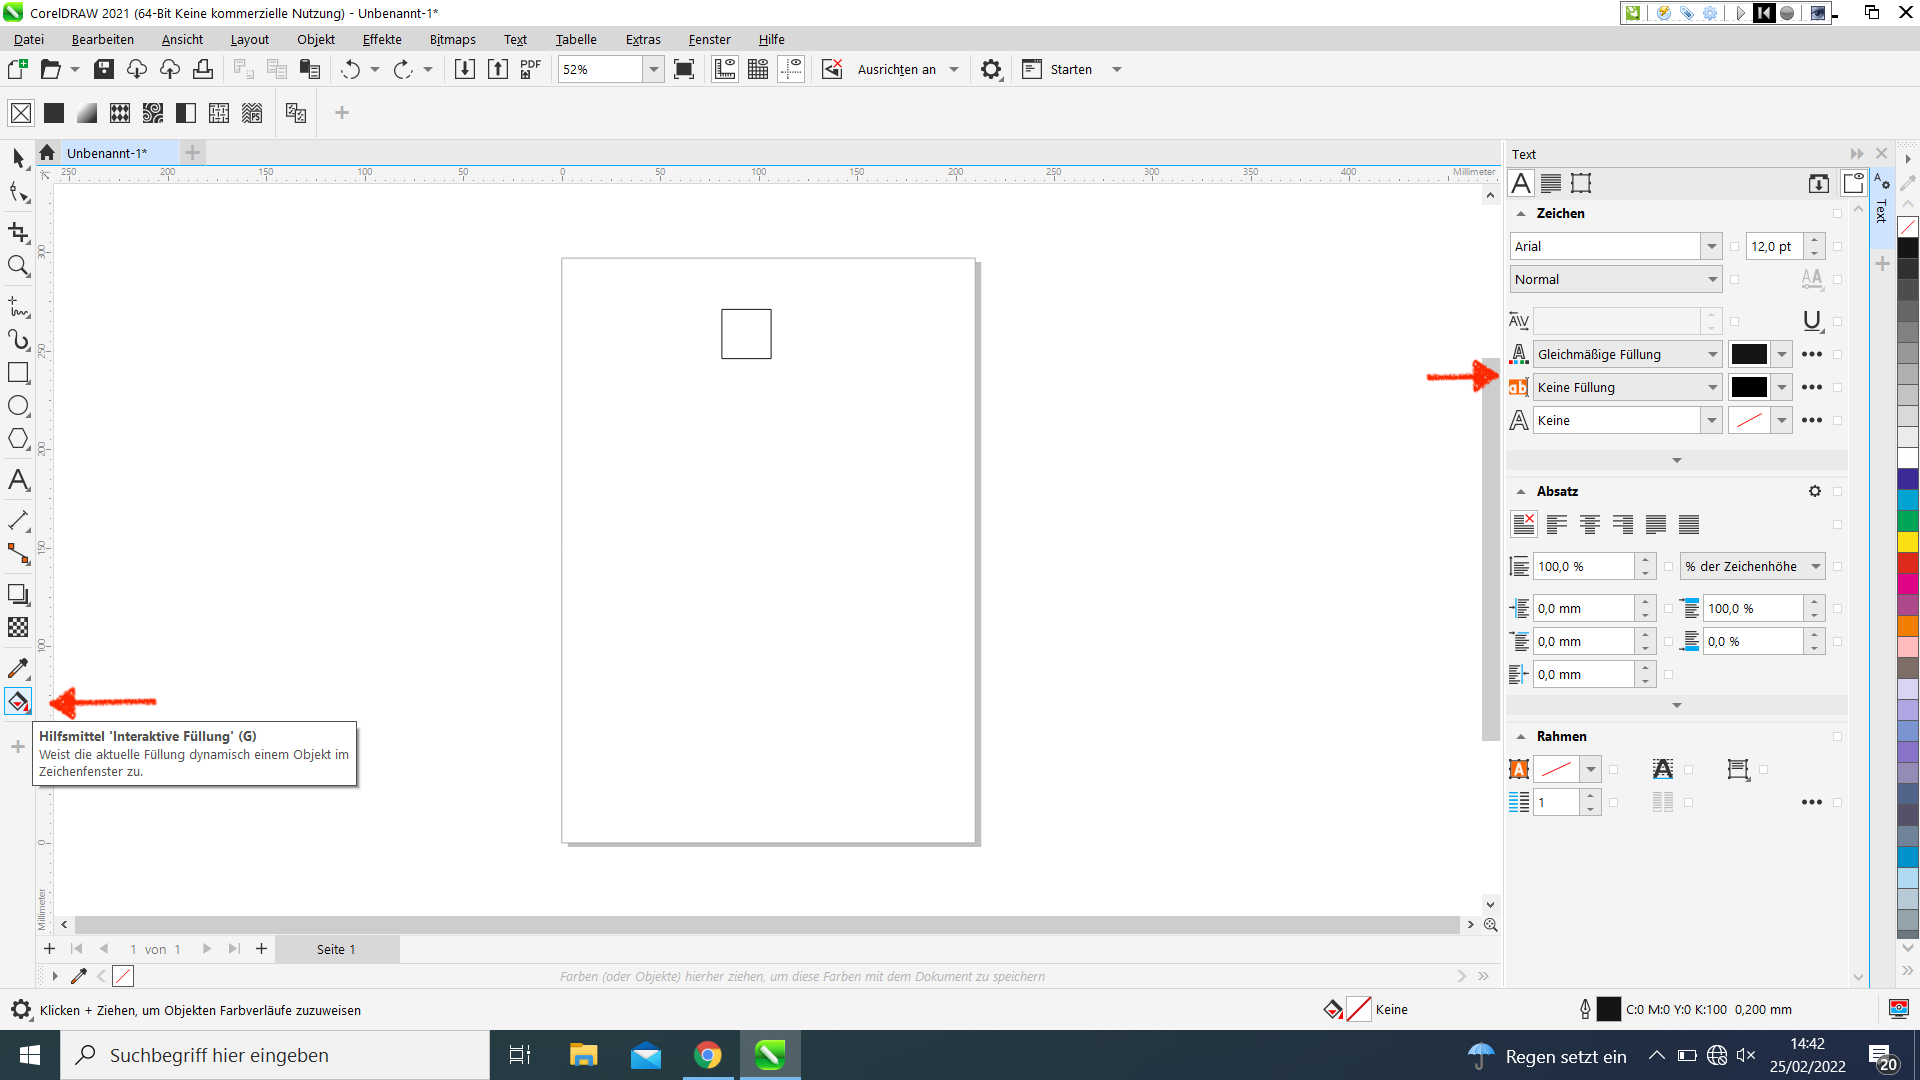
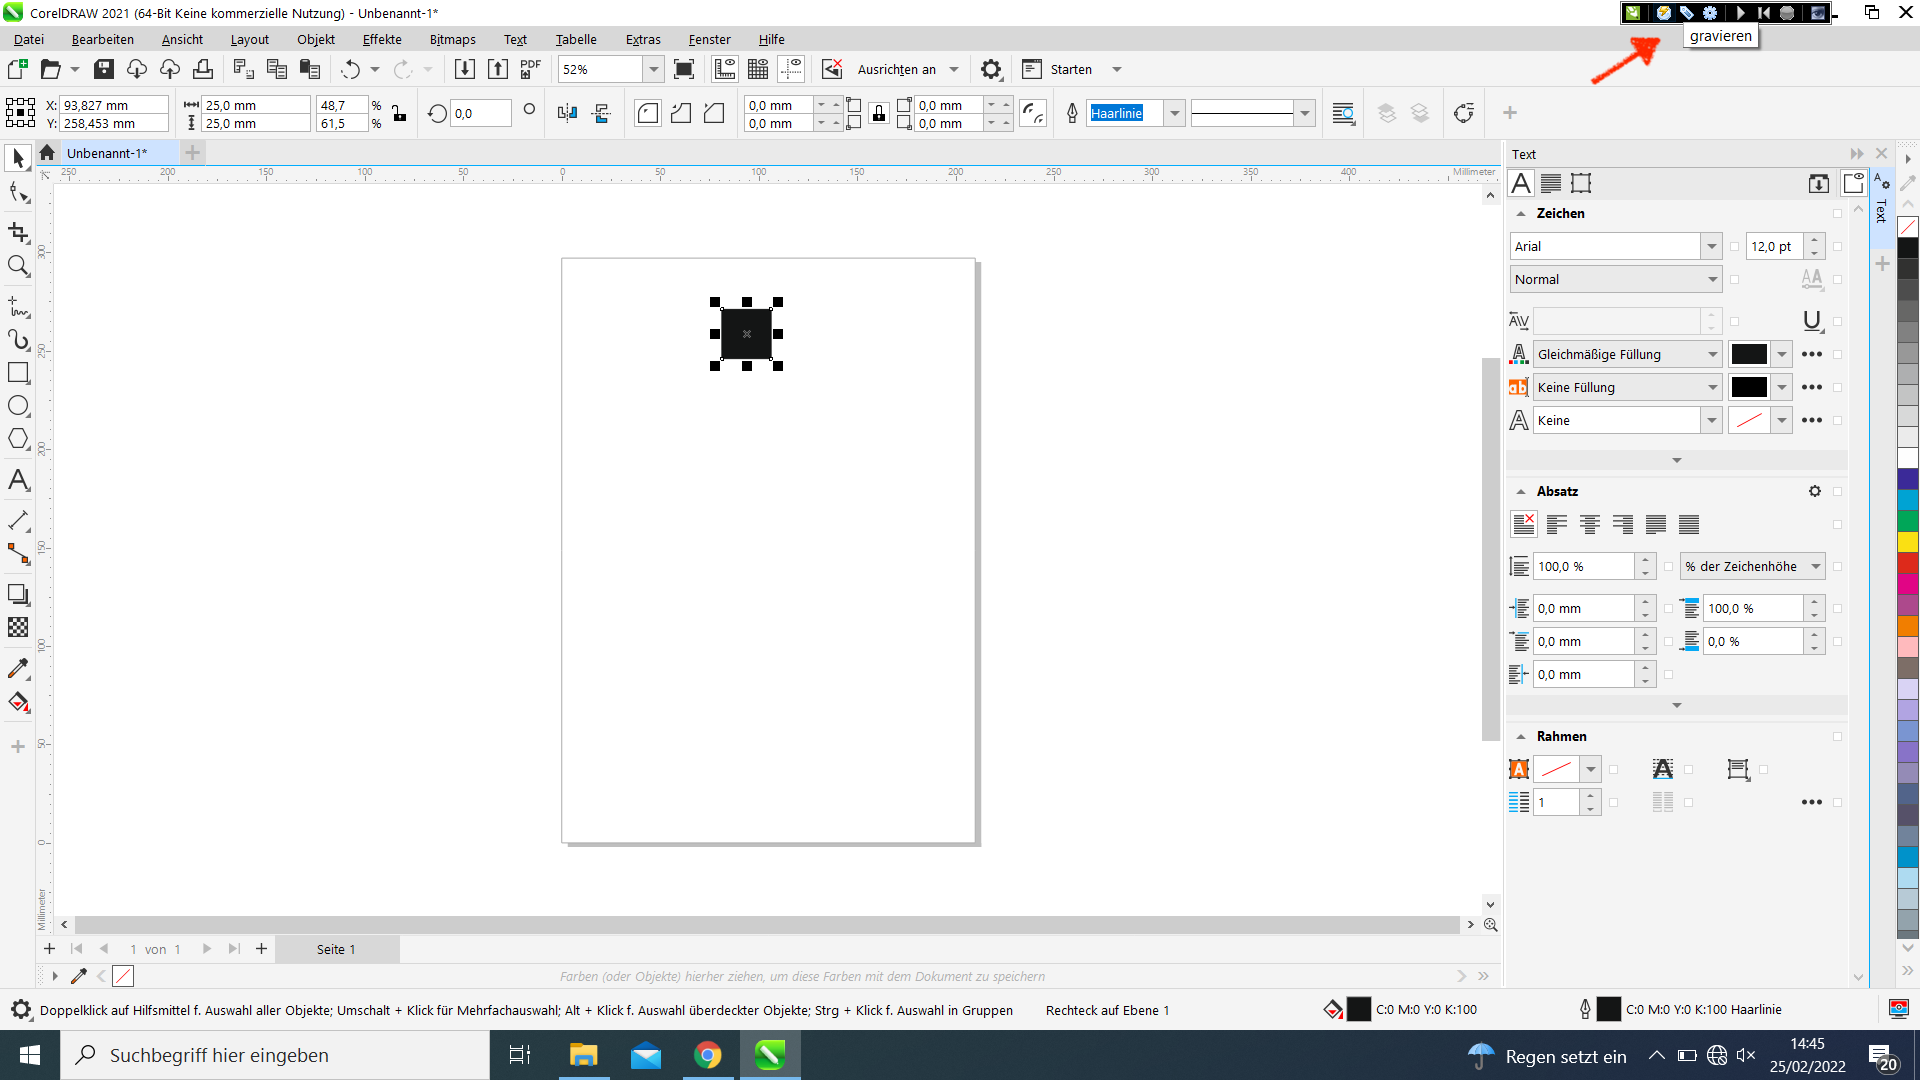
For engraving, the steps of cutting are followed, with the extra step of adding filling in the rectangle using the filling tool in the toolbox and the docker for color filling of the rectangle as sometimes it indicates no filling at all there. Lastly, the rectangle is selected again and the engraving button in the laser cutter menu is selected.
Machine Setup
When pressing the laser cutter menu, the last steps are to insert the parameters and send the job. But, before sending the job to the laser cutter, we first need to set it up.
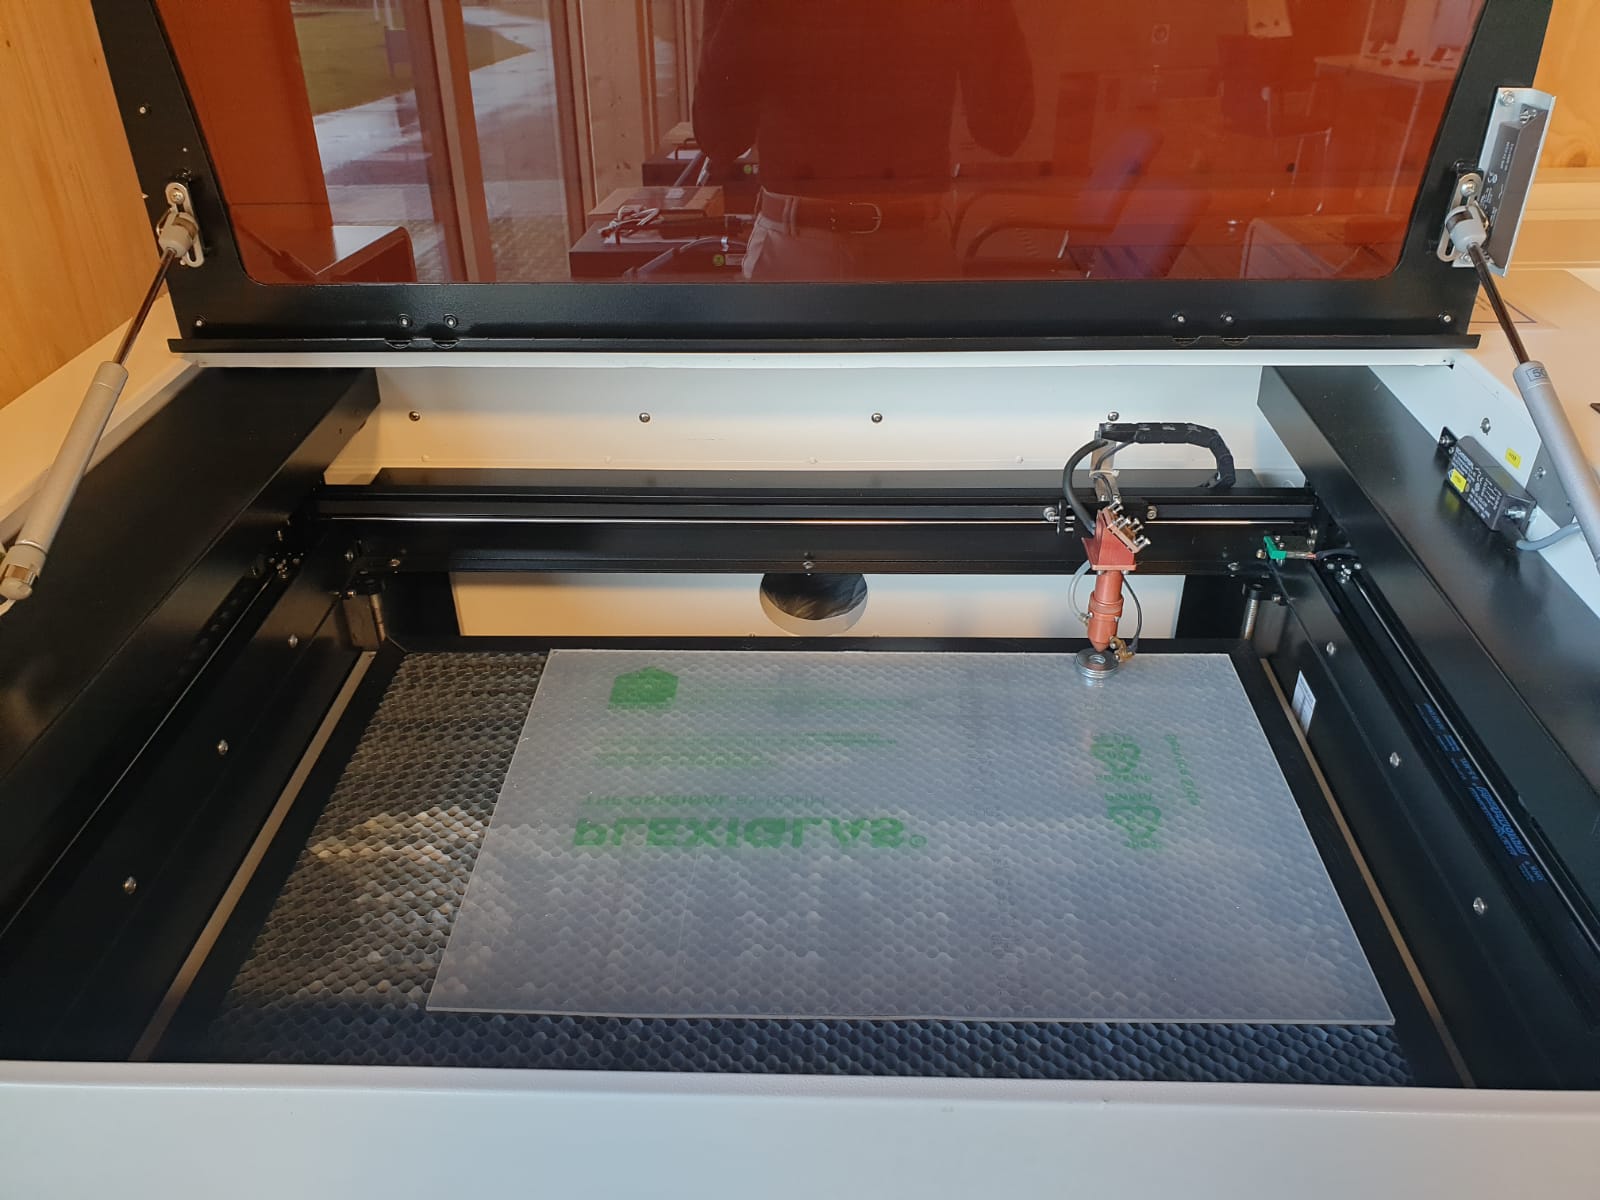
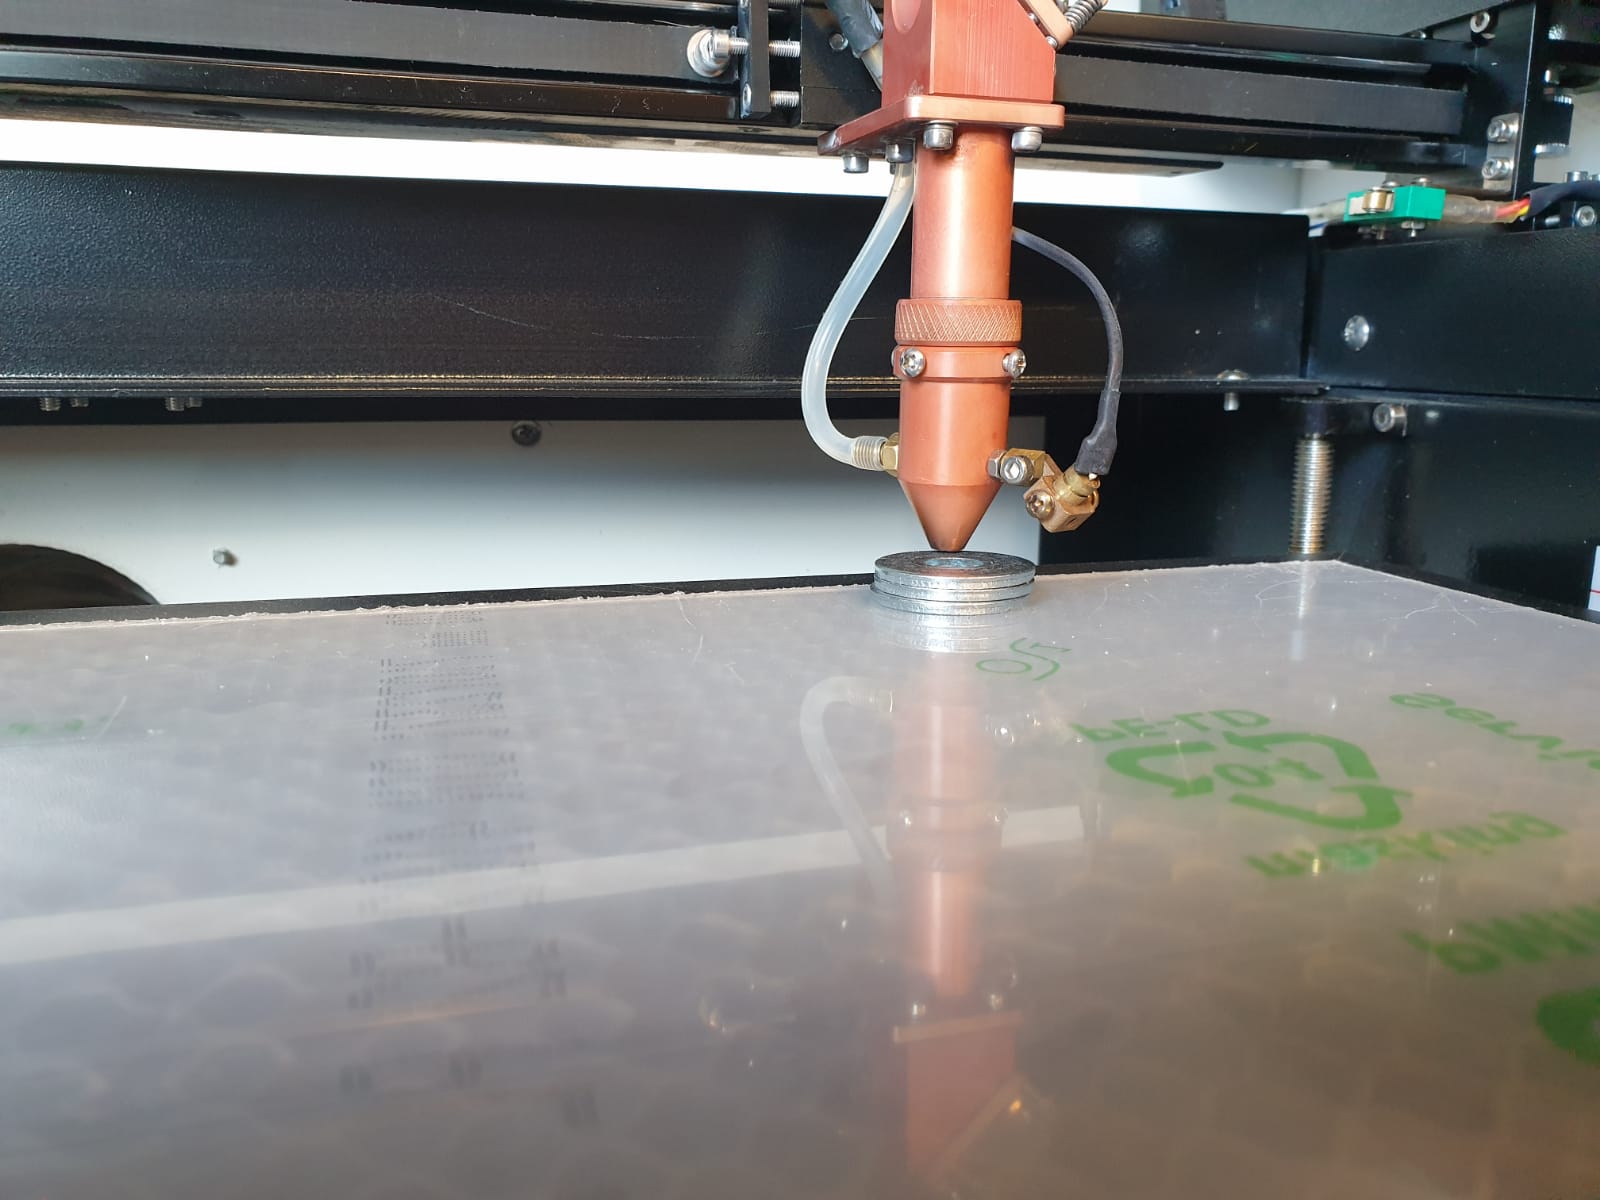
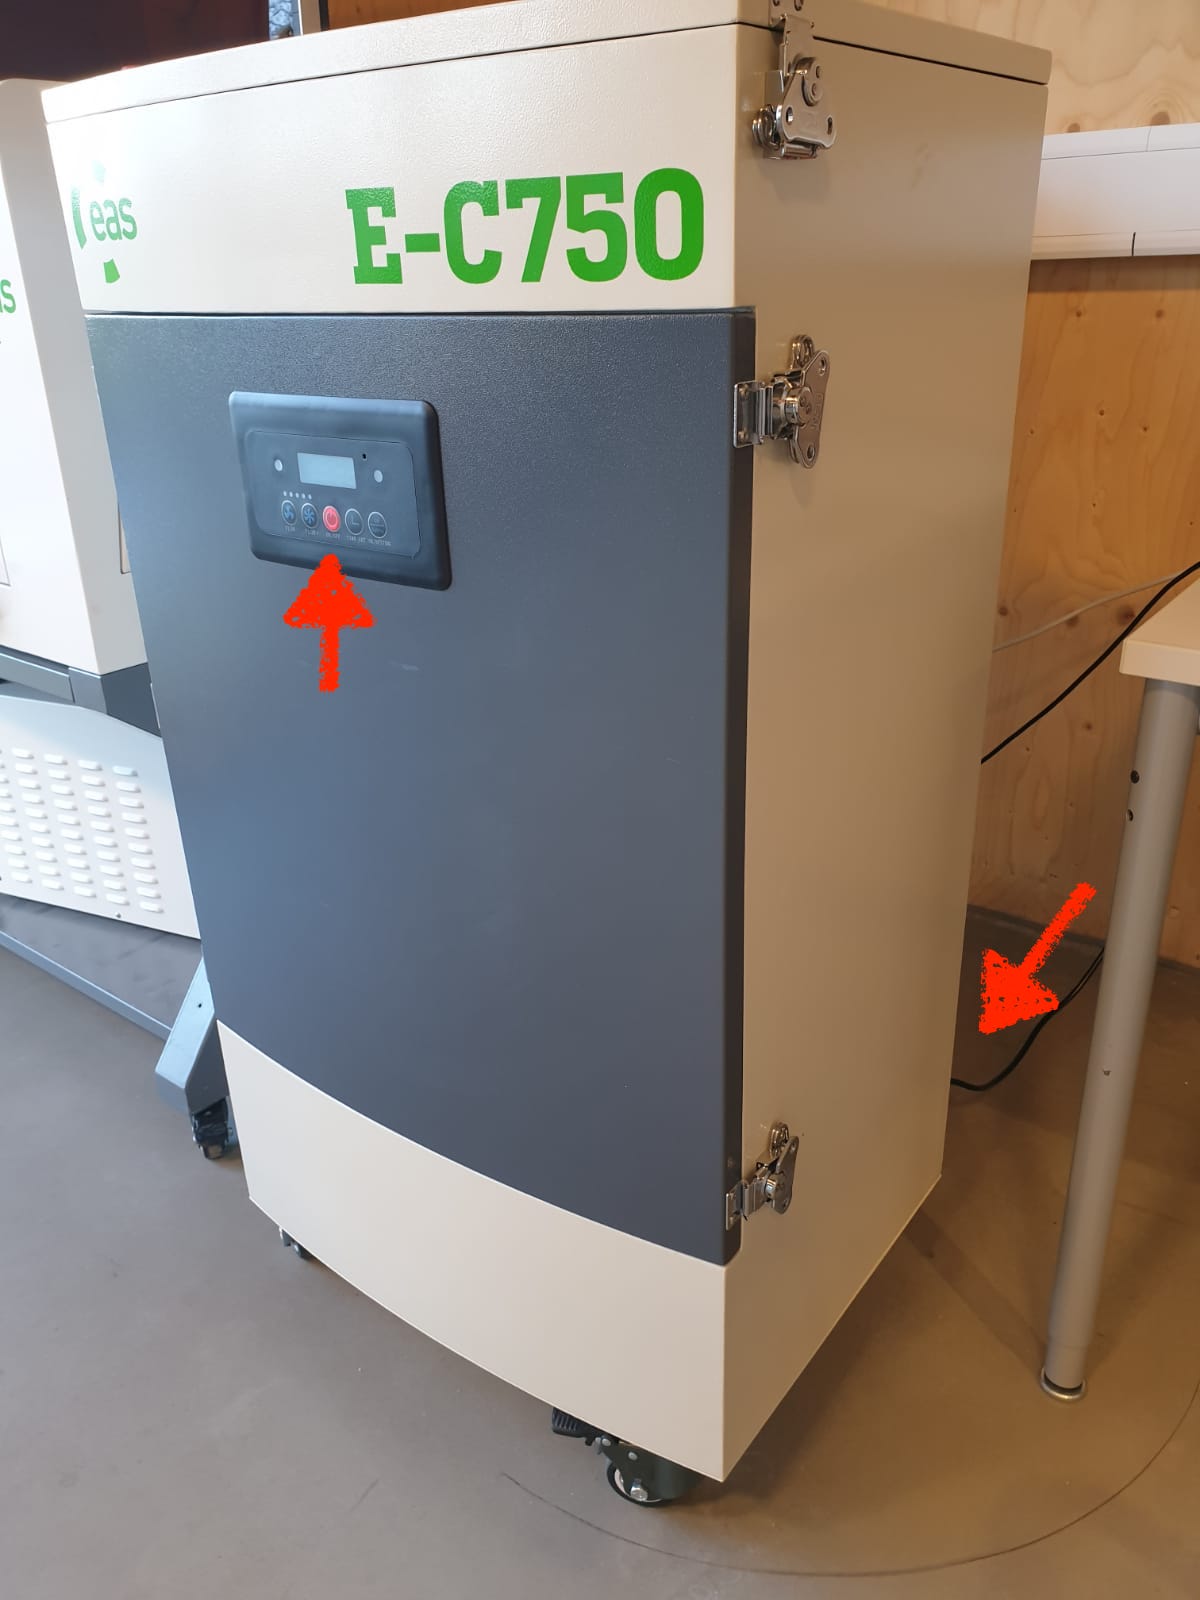
Initially, we turn on the laser cutter using the on/off button, next we turn on the light on the laser cutter, using the light button and then we set up the focus point and the start position of the laser. After inserting the material in the area of the laser cutter, we use three cylinder of a 2.45mm thickness in order to set up the focus point of the laser with respect to the material we have in the laser cutter area. The start point of our laser is set up by the laser cutter menu that popped up in Coreldraw in the last step. By moving around the initial point in the laser cutter menu, the laser head moves accordingly. Then, before we press start in the laser cutter menu, we make sure, the airflow is turned on by clicking the two button on that machine extension, one at the back and one at the front. The intensity of the airflow can be also adjusted in the front, but full intensity is always recommended. Lastly, we close the door of the laser cutter, we turn on the „power on/off“ button, we set up the power intensity we need and then we press start in the laser cutter menu. But it is important to have set the parameters in the laser cutter menu also before pressing start.

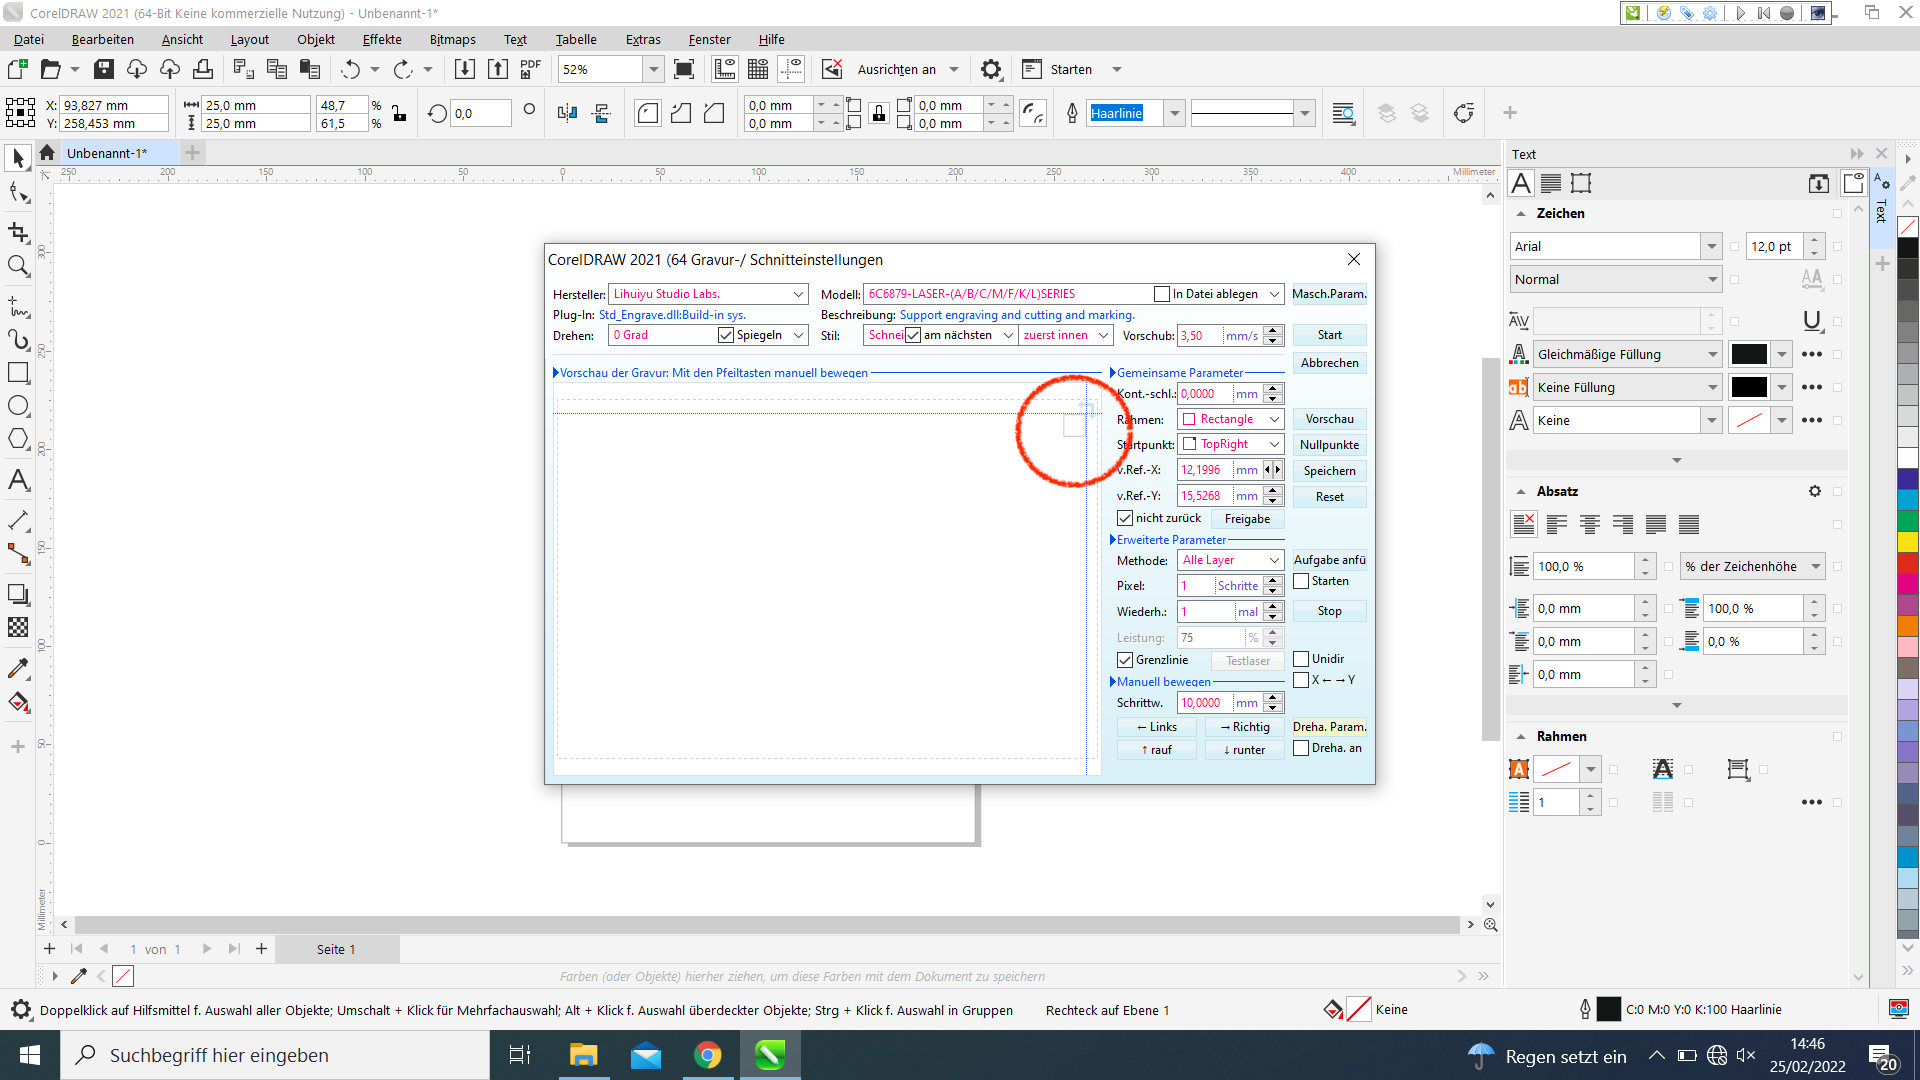
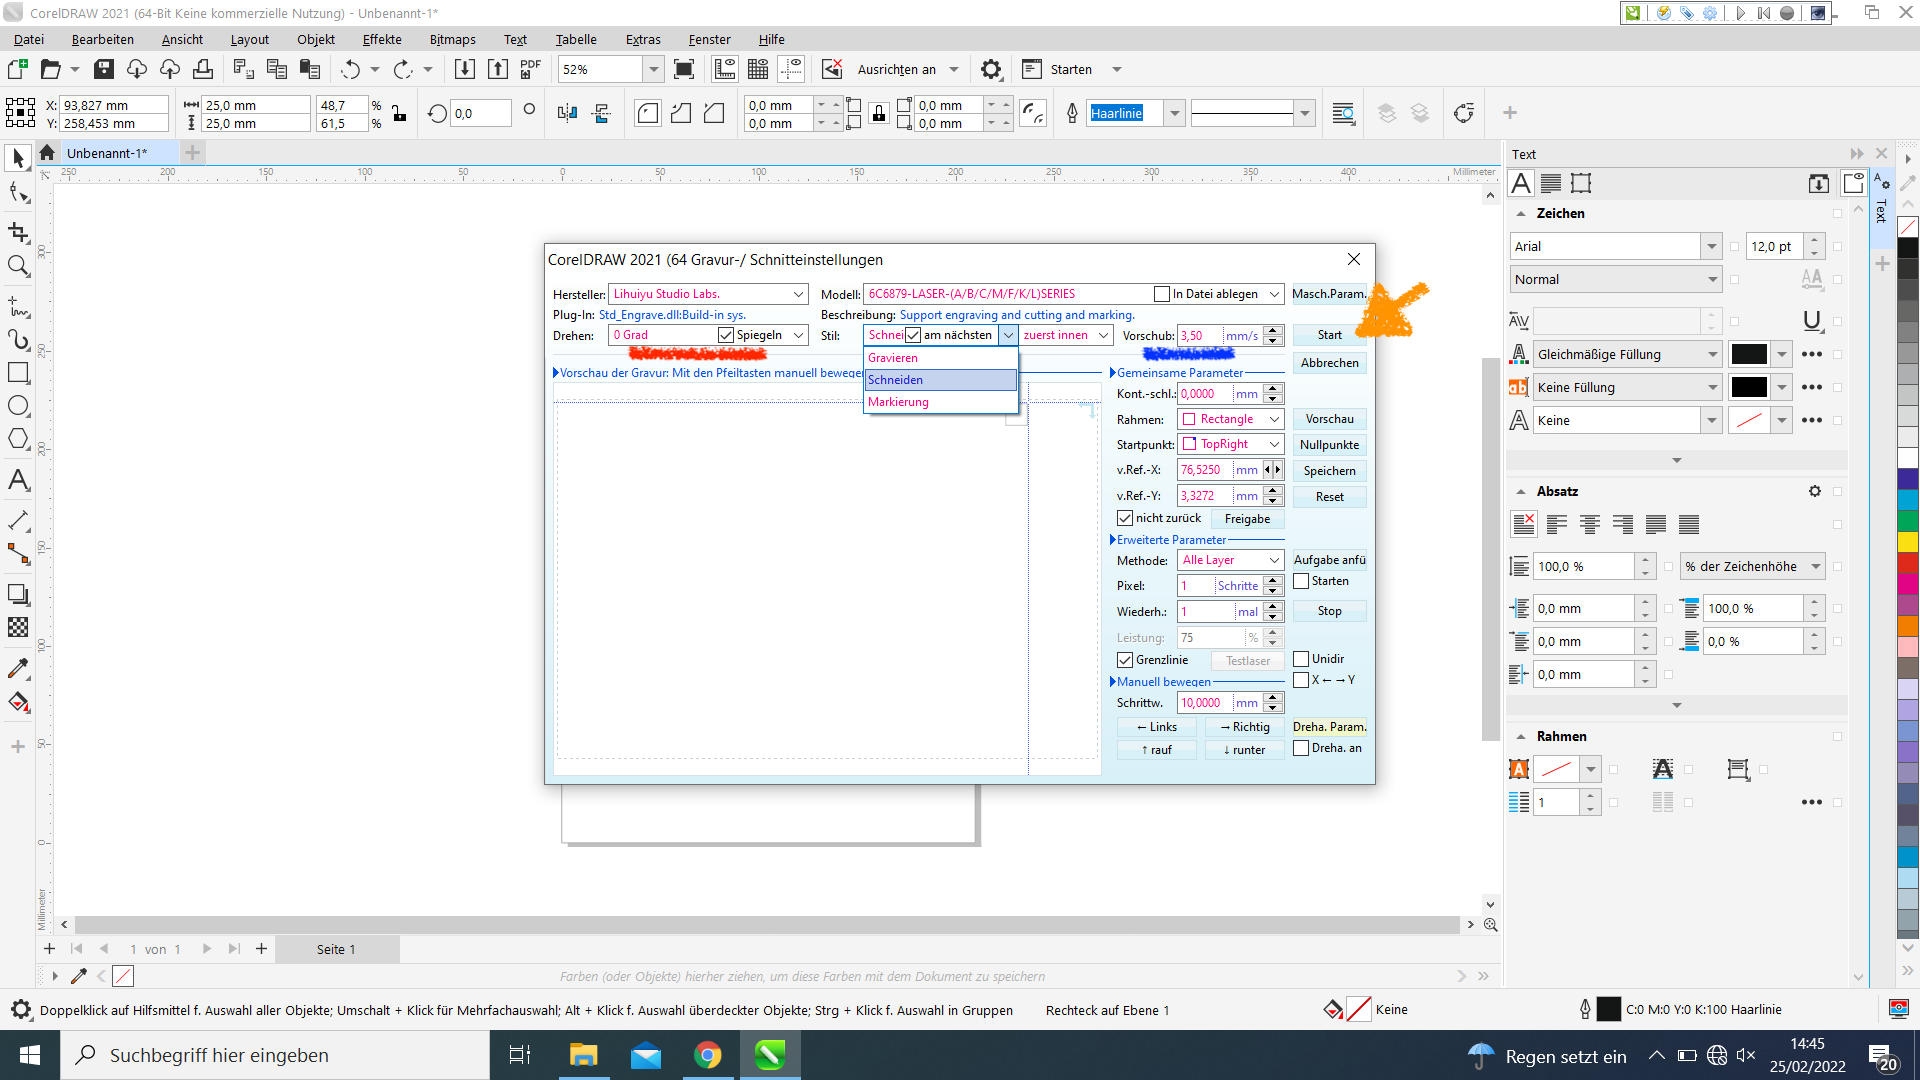
Parameters
Last step before pressing start to send the job, is setting up the parameters in the laser cutter menu. When the laser cutter menu pops up, we have to make sure the mirror option in 0 degrees is pressed(red) and to set up the speed(blue). It is also noticed, that in the drop down menu, either cutting on engraving can be selected in case the wrong button was pressed in the laser cutter menu in CorelDraw. Press start and your piece will be ready. Below find the parameters recommended for the different kinds of materials.


Seiten-Werkzeuge
