Benutzer-Werkzeuge
Seitenleiste
Dies ist eine alte Version des Dokuments!
Inhaltsverzeichnis
Gebrauchsanweisung für die CNC-Maschine
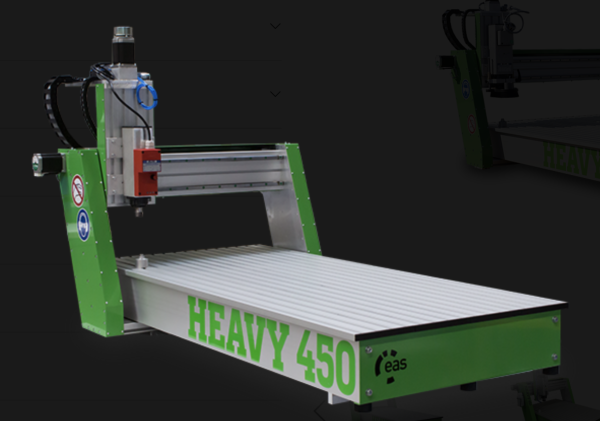
Die in der GFL eingesetzte CNC-Maschine ist die eas Heavy 450.
Vor dem Einsatz der Maschine ist ein Entwurf erforderlich. Für den folgenden Entwurf und Prozess wurde Fusion360 verwendet. Die Schritte, die bei der Nutzung der Maschine zu beachten sind, sind:
- Die Installation des Post-Prozessors der Maschine
- Die Vorbereitung des zu schneidenden Designs in Fusion360
- Der eigentliche Einsatz der CNC-Maschine
Installation des Post-Prozessors
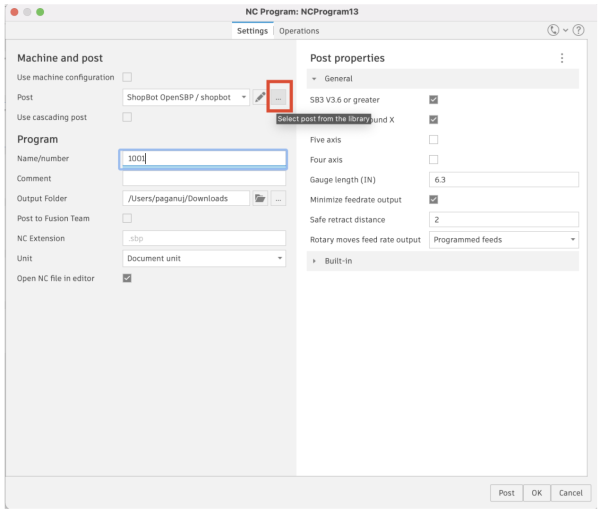
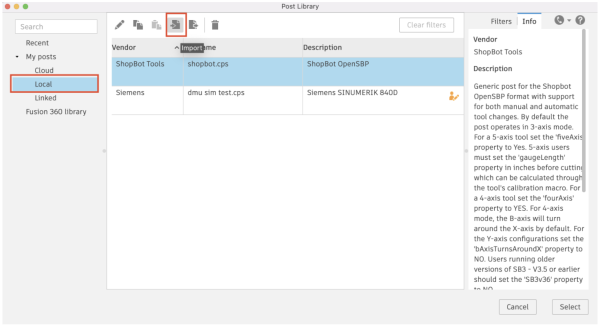
Bei der Installation des Post-Prozessors für EAS HEAVY 450 sind folgende Schritte zu beachten:
- Laden Sie den folgenden Post-Prozessor herunter: EAS_PostProcessor
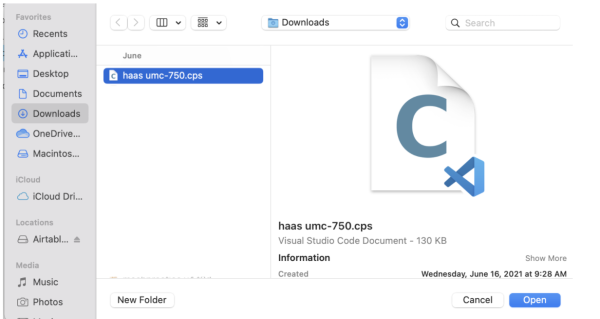
- Finden Sie den oben heruntergeladenen Postprozessor.
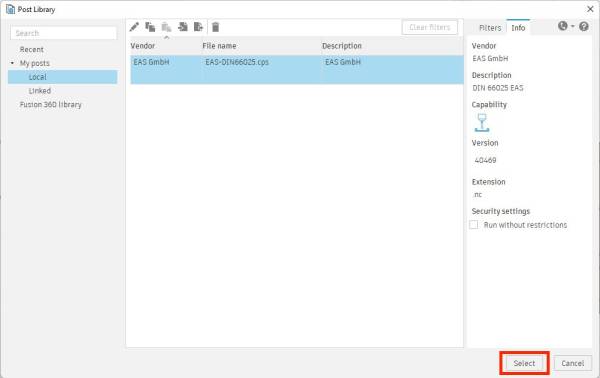
- Der Post-Prozessor befindet sich nun in der lokalen Bibliothek und kann verwendet werden.
Vorbereitung des Designs in Fusion360
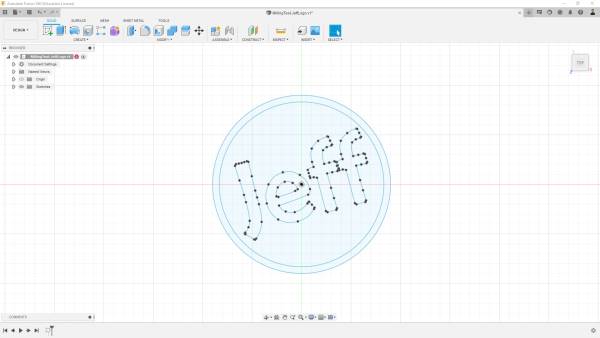
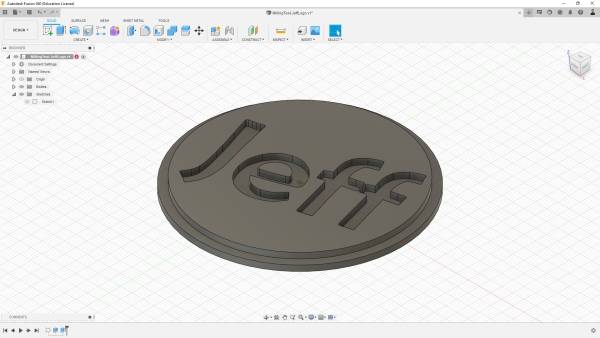
Nach der Installation des Postprozessors können wir mit dem Design fortfahren, das wir schneiden möchten. In Fusion360 verwenden wir in der Design-Umgebung das Skizzenwerkzeug, um das folgende Design zu entwerfen, und das Extrudierenwerkzeug, um unserem Design Essenz zu verleihen und es schließlich auf der CNC-Maschine schneiden zu können.
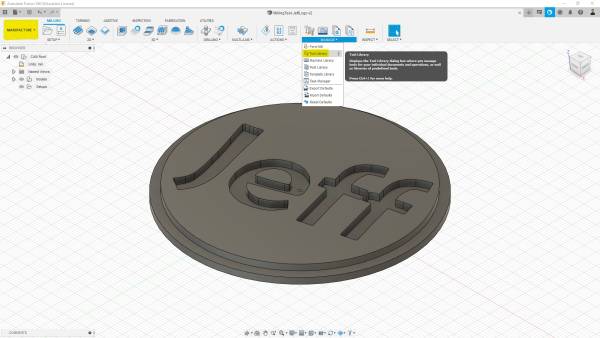
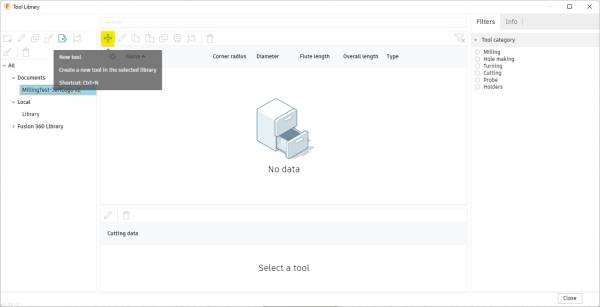
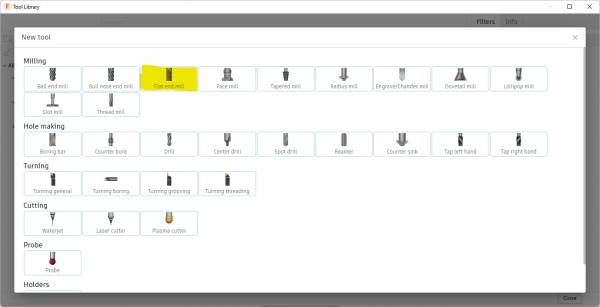
Nachdem wir den Entwurf, den wir fräsen möchten, fertig haben, gehen wir in die Manufacture-Umgebung und geben die Konfiguration des Fräsers ein, den wir in der CNC-Maschine verwenden oder verwenden werden. Um den Fräser einzufügen, folgen wir den nachstehenden Schritten:
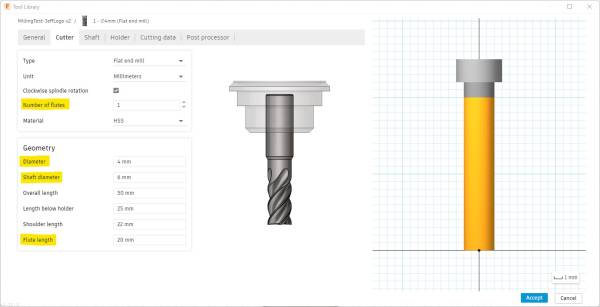
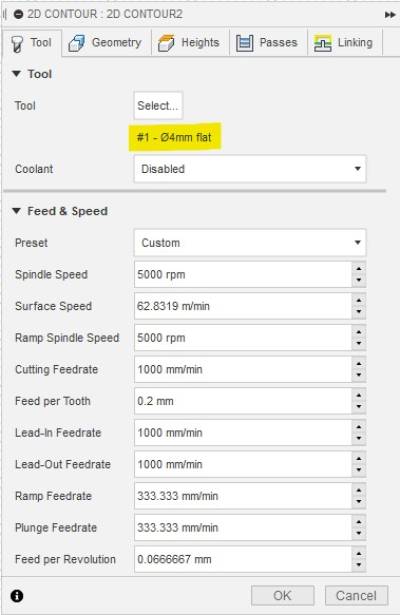
Nachdem Sie auf die Funktion Neues Werkzeug geklickt haben, müssen Sie die Konfiguration des verwendeten Fräsers eingeben. Wenn wir sie nicht vorher aus einem Datenblatt oder anderweitig kennen, müssen wir die Nuten, den Durchmesser der Welle und des Fräsers usw. messen und zählen. In dieser Situation ist ein elektronischer Messschieber sehr nützlich. In unserer CNC haben wir für diesen Entwurf einen Flachfräser mit 4 mm Durchmesser verwendet und ihn wie folgt in Fusion eingesetzt:
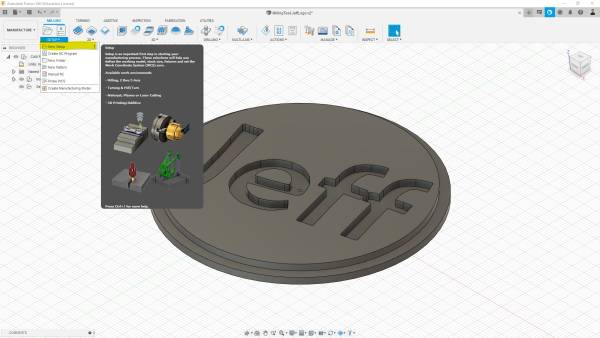
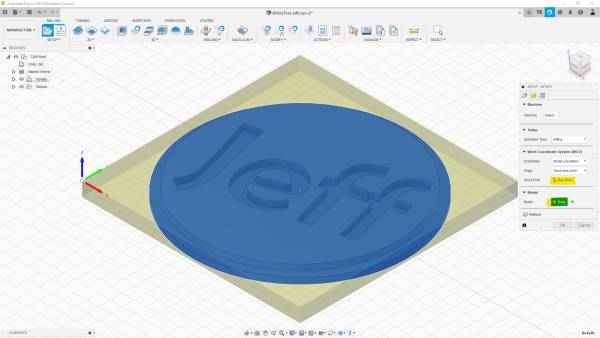
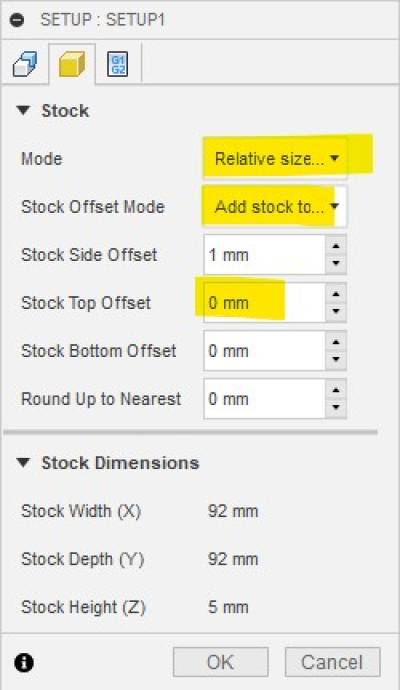
The next step would be to set the zero point of the machine in accordance with the design. It is important that the XYZ axes be set exactly in the way that the machine has them.
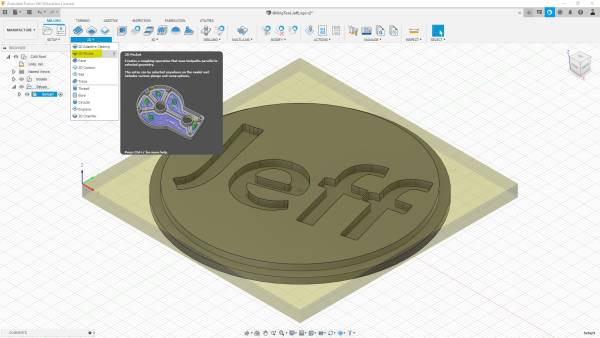
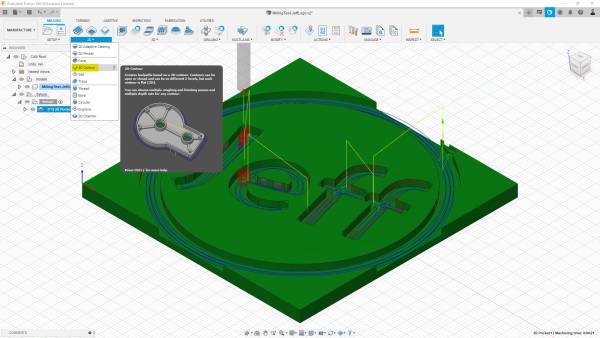
Following this, we are setting up the engraving and the cut of the design. In order to do that we make two passes on the design.
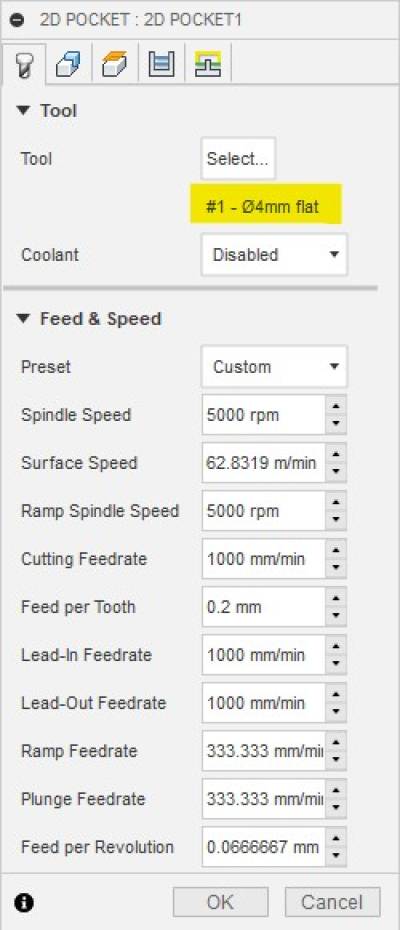
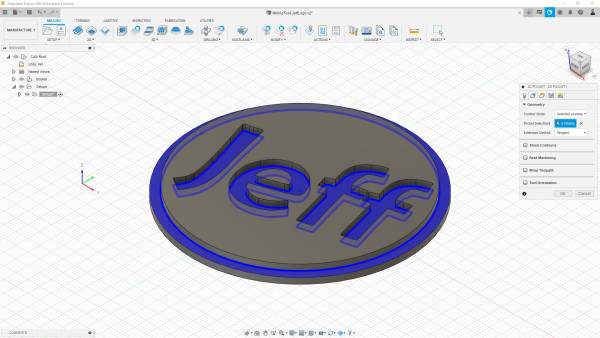
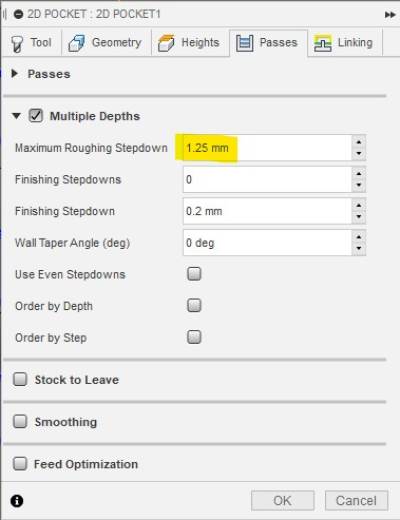
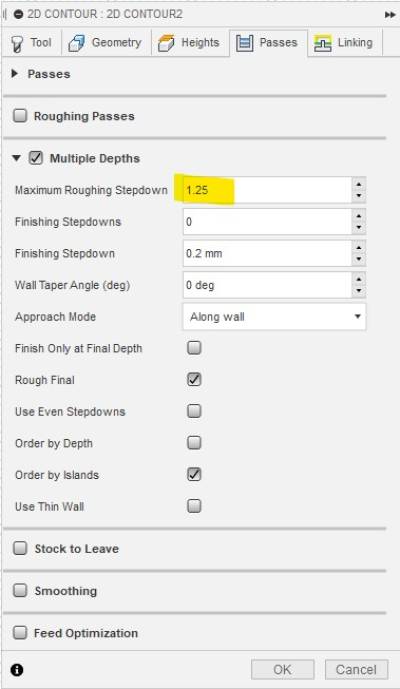
On the first pass, after choosing 2D Pocket, we insert the tool in which we are using, the feed, and speed. Also, we have to select the engraving parts of the design and specify the stepdown depth into the material. In order to specify the depth of the stepdown, the thickness of the material to which you are going to use has to be known in advance. The design has to also have the thickness of the material we are going to use and extruded to that thickness accordingly. The parameters used for the roughing/engraving are as follows:
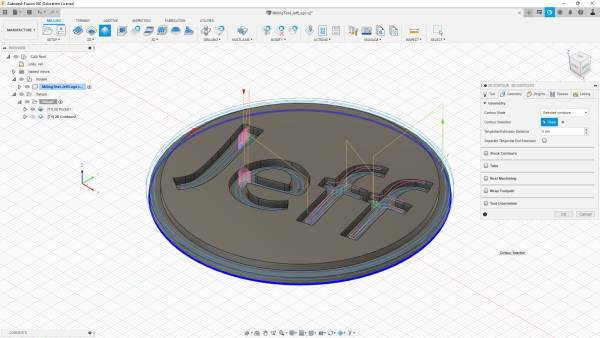
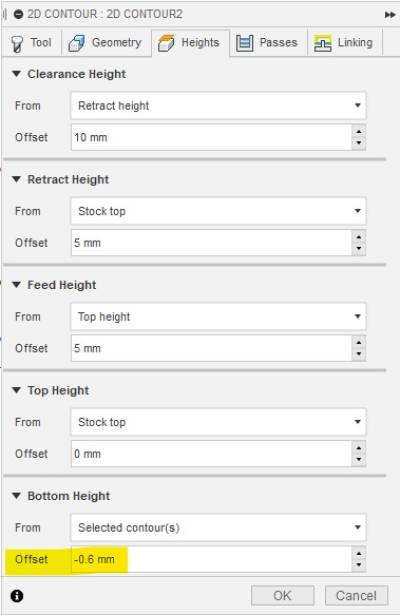
Like the roughing pass, we set also the parameters for the finishing pass using 2D Contour as follows:
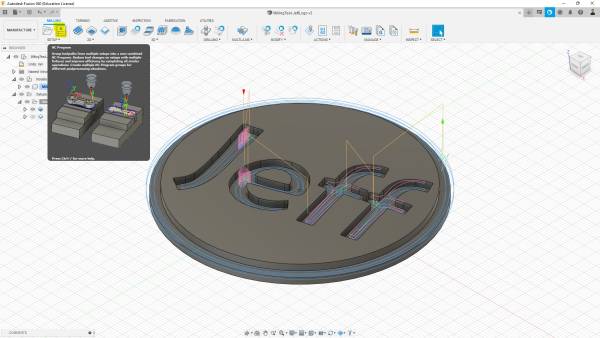
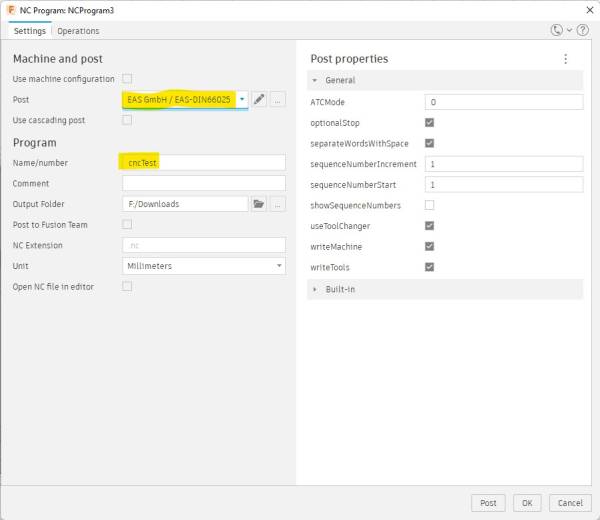
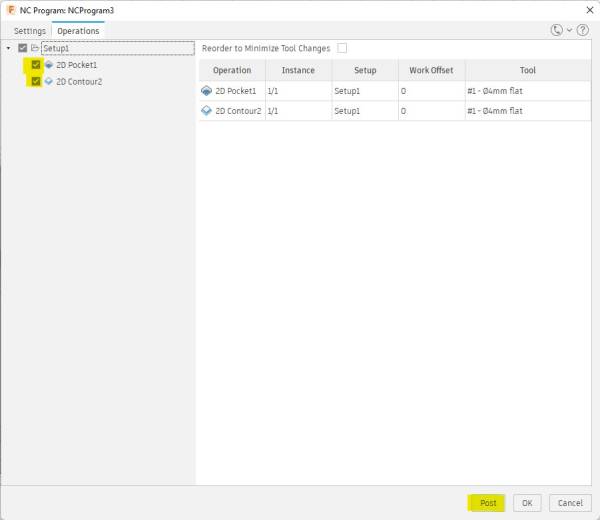
The last step is to generate the gcode for the CNC machine. It is important to choose the right Post Processor and select both processes set above. After these are checked, then we press post and we proceed with the cutting in the CNC machine.
Design Cut in the CNC Machine
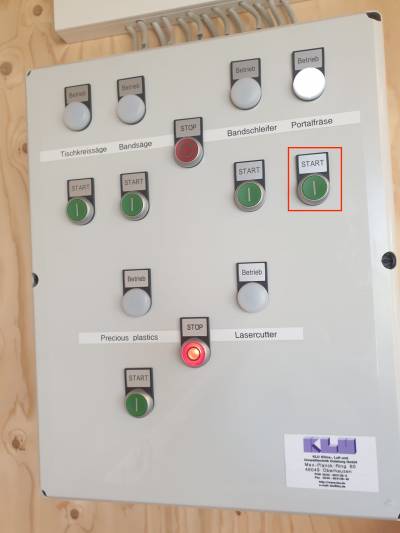
The first thing to do when using the CNC machine is to initiate it at the control panel. In order to do that, we press the button for the Portalfräse.
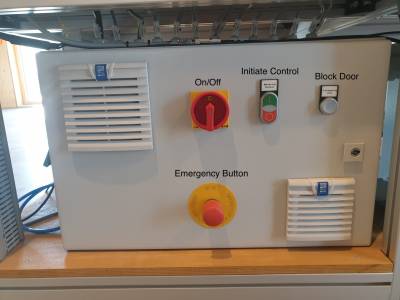
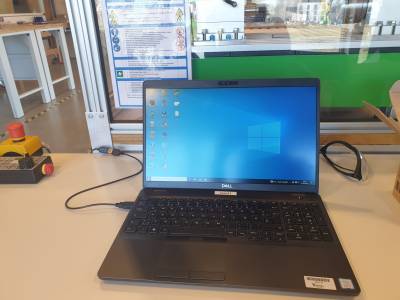
Next, we connect the Gast1 laptop to the machine, turn on the CNC machine and initiate Control. If the doors of the CNC machine are blocked, we for now release them by using the button in the CNC control panel too.
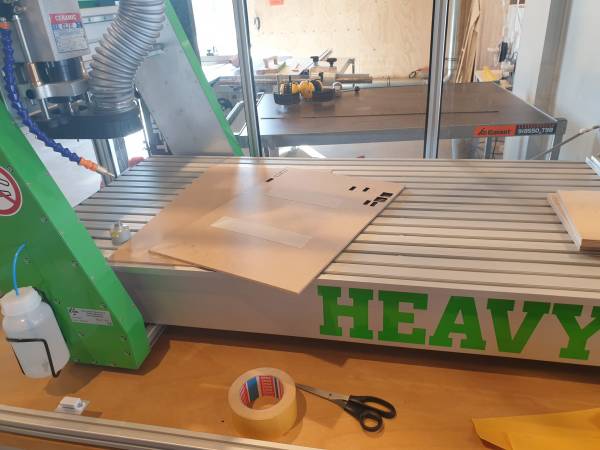
After releasing the doors, we place the first layer on the CNC bed as a protective layer, and then on it place the piece to be cut. To do that, double-sided tape was used for both layers.
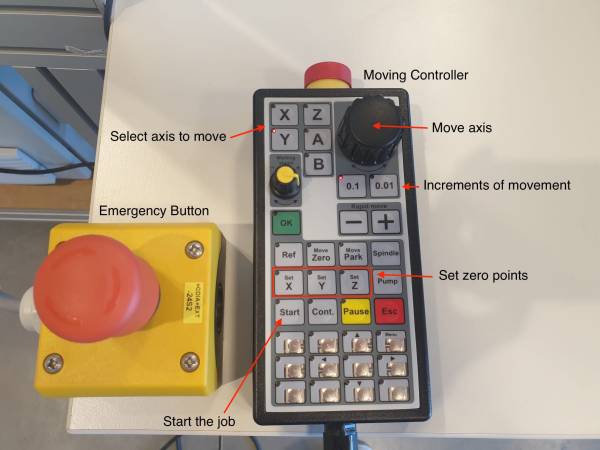
The next step would be to determine the zero point of our CNC machine, where our design will be cut. We can use either the hand controller or the control in the software to do that. We have to set the XY axes and Z axes as set in Fusion360.
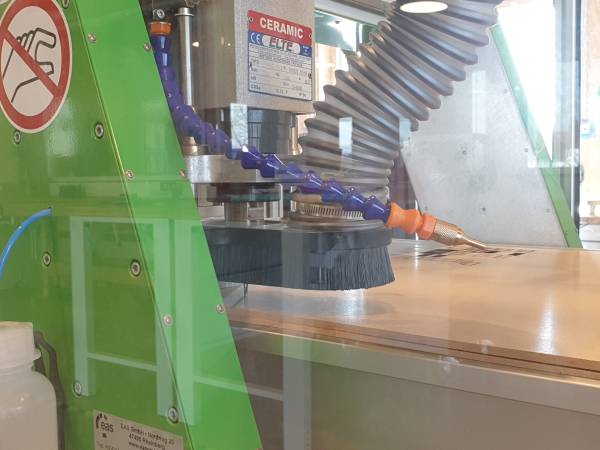
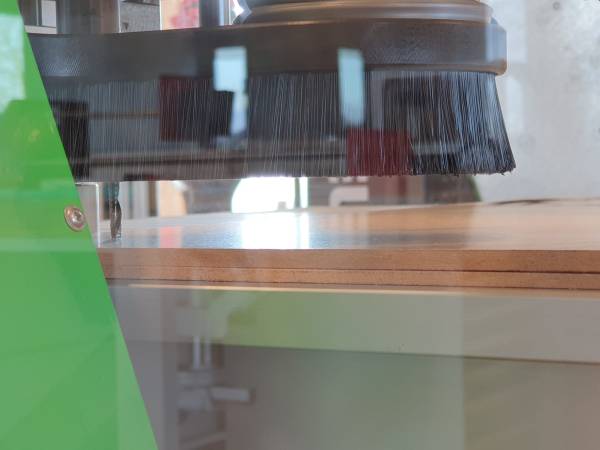
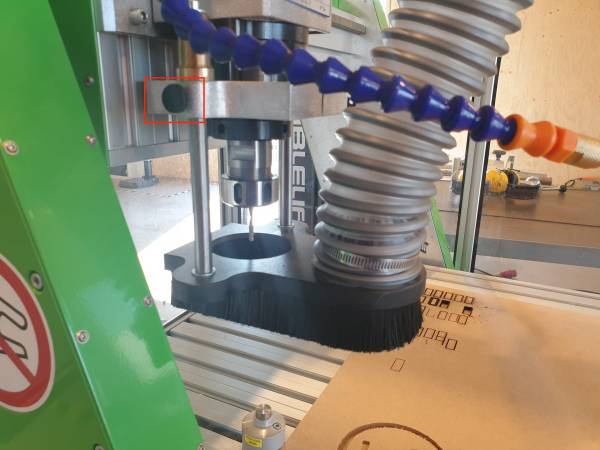
The last thing to do, before we move on to the computer for the start of the machine, is release the knob so that the brush is released in order to have less debris during cutting.
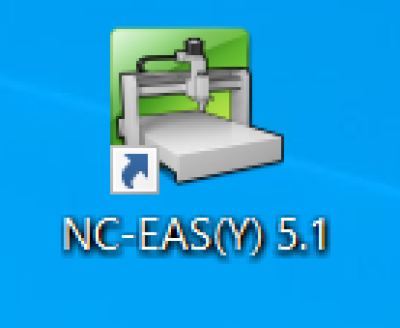
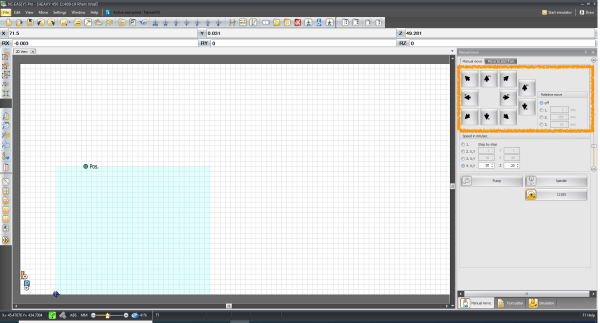
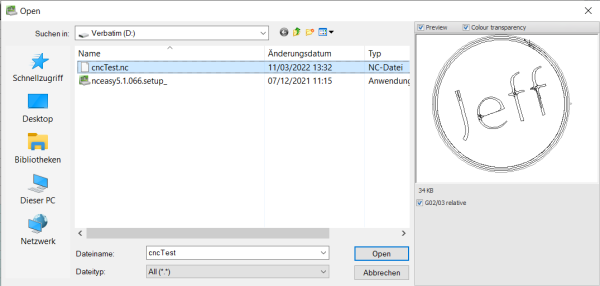
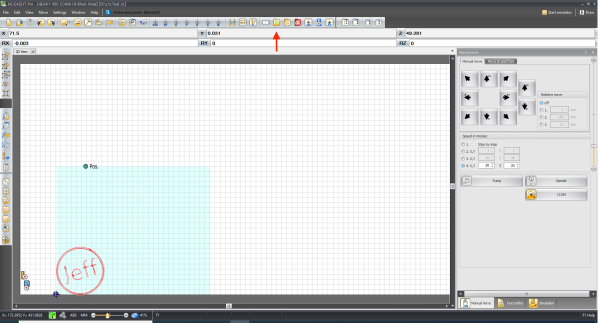
Lastly, we move on to the PC. We open the program following the NC program logo, we insert the file that we have prepared for cutting by File>Open and then we press Start either by pressing the button in the software or in the hand controller. Noticeable is when we open the program, on the right-hand side the control panel for the axes. They can also be moved by the software are mentioned before. For big steps, it is advisable to use the control in the software and for smaller increments, especially for the z-axis, it is better to use the hand controller as the increments there are way smaller. Very important is to make sure to block the doors before we press start, otherwise, the CNC machine will not start.
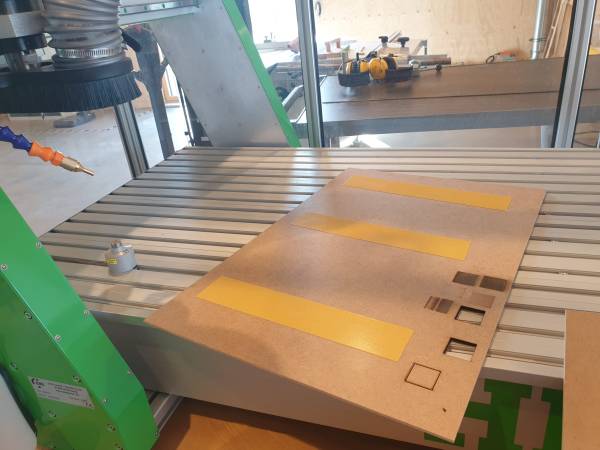
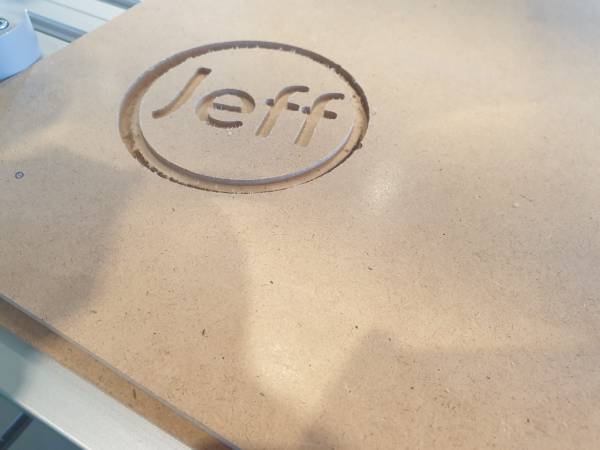
Lastly, do not leave the CNC machine unattended at any moment while it is working. If needed to go, ask someone else to be there instead. So, finally, after releasing the doors when the CNC was done and vacuuming the leftover debris, this was the end result.


